The difference between an amateur and a professional paint job often lies in the preparation, particularly in dealing with the pervasive challenge of drywall dust. This guide dives into professional strategies for ensuring your walls are pristine and ready for a new coat of paint.
Why Professional Cleaning Makes a Difference
Leveraging professional cleaning methods not only ensures that paint adheres properly but also contributes to a smooth, durable finish. An experienced painter once shared that the secret to their flawless finishes wasn’t just in the stroke of their brush but in their meticulous preparation, emphasizing that “painting is 90% preparation.”
Tools and Materials You’ll Need
To tackle drywall dust like a pro, gather the following essentials:
- Vacuum with a HEPA filter: Essential for capturing the fine dust particles without dispersing them back into the air.
- Microfiber cloths: Their electrostatic properties make them ideal for trapping dust.
- Mild detergent: A gentle cleaner can help remove stubborn dust without damaging the drywall.
- Sponge or soft brush: For areas that require a bit more attention.
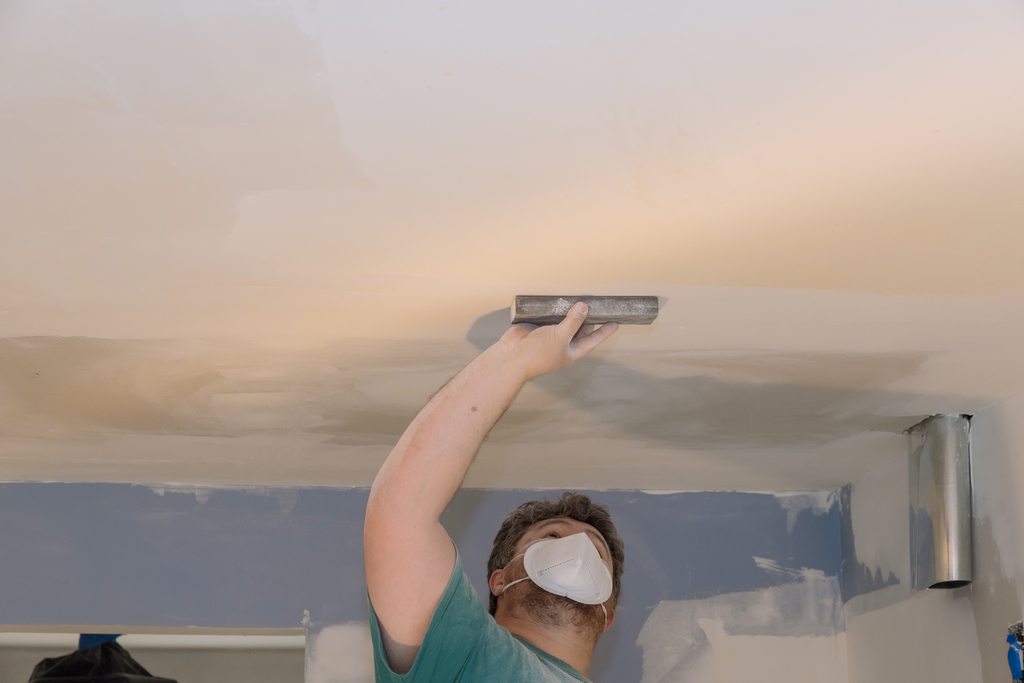
- Protective gear: A mask and gloves to protect yourself from dust inhalation and skin irritation.
Step-by-Step Guide to Removing Drywall Dust
- Safety First: Before anything, equip yourself with protective gear. I learned this the hard way during my first DIY project, where I ended up with a sneezing fit that lasted hours.
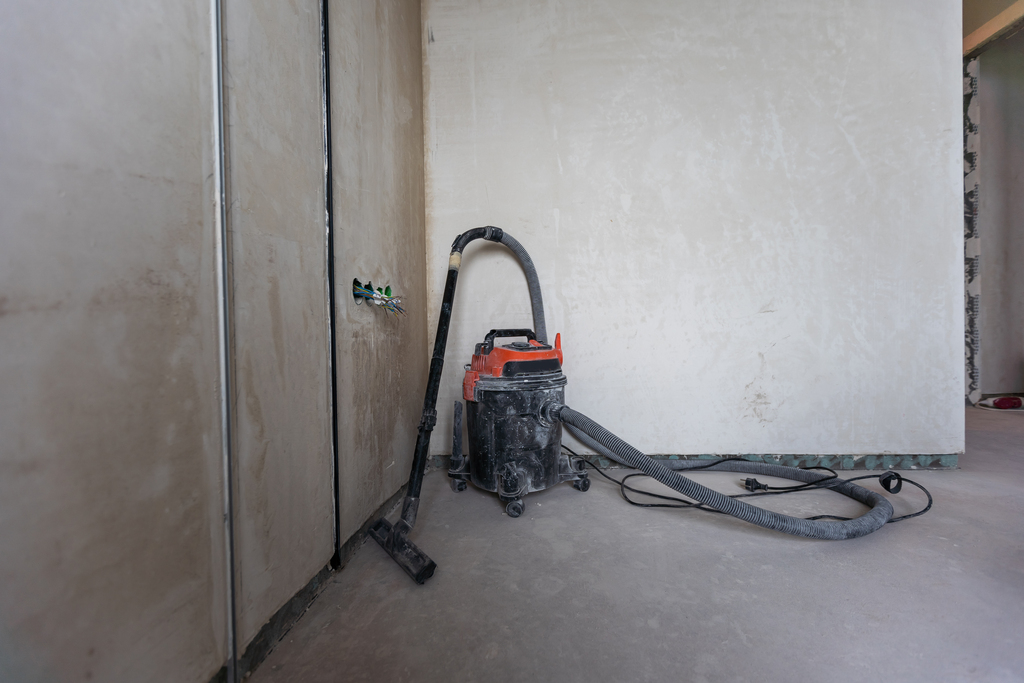
- Vacuuming: Use a vacuum with a HEPA filter to thoroughly remove the bulk of the dust. It’s a game-changer in preventing the dust from becoming airborne again.
- Damp Cleaning: Mix a mild detergent solution and lightly dampen a microfiber cloth. Gently wipe the walls in a circular motion to catch any remaining dust. This method was a tip I picked up from a seasoned painter, who swore by it for ensuring a dust-free surface.
- Rinse and Dry: After cleaning, rinse the walls with a clean, damp cloth to remove soap residue, then let them dry completely. The drying stage is crucial; painting over damp walls can lead to issues like bubbling and peeling.
Common Mistakes to Avoid in Dust Preparation
- Skipping Vacuuming: Jumping straight to wiping can smear the dust around, making it harder to remove. Vacuuming first simplifies the cleaning process.
- Over-Wetting the Drywall: Excessive water can damage the integrity of the drywall. A lightly dampened cloth is all you need.
- Impatience: Allowing the wall to fully dry before painting is non-negotiable. I once rushed this process, resulting in a finish that needed a complete do-over.
Finishing Touches: Ensuring a Dust-Free Surface Before Painting
Conduct a final inspection with a lint-free cloth. If it comes away clean, your walls are ready. This final touch, though simple, is a ritual I never skip. It’s the moment of truth, confirming that my preparation was thorough.
Conclusion
While cleaning drywall dust requires effort, the payoff in the quality of your paint job is undeniable. Embrace the preparation stage with the diligence of a professional, and you’ll be rewarded with results that are not only visually stunning but enduring – LifeTime Painter. As I’ve learned over the years, great painting isn’t just about what you do with the brush but what you do before you even dip it in paint.
