
Ceiling cracks can be unsightly and worrisome, but with the right approach, you can fix them yourself and restore your ceiling to its former glory. This step-by-step guide will walk you through understanding the causes of ceiling cracks, preparing for the repair, and executing the repair with professional-quality results.
Understanding Ceiling Cracks: Causes and Types
Common Causes of Ceiling Cracks
Ceiling cracks can result from a variety of factors:
- Structural Movement: Houses naturally settle over time, causing minor cracks. As buildings age, the materials can shift, settle, and even shrink, leading to visible cracks in the ceiling. This is often a normal process but can sometimes indicate more significant structural issues if the cracks are large or growing.
- Temperature and Humidity Changes: Fluctuations can cause materials to expand and contract, leading to cracks. For example, in regions with significant seasonal changes, the difference in temperature and humidity levels can cause the ceiling materials to expand and contract, creating stress that leads to cracks.
- Water Damage: Leaks from roofs, pipes, or bathrooms above can weaken the ceiling material. Water damage is particularly concerning because it can compromise the structural integrity of the ceiling and often indicates a persistent leak that needs to be addressed.
- Poor Workmanship: Inadequate construction techniques or materials can result in cracking. This might include improperly applied drywall tape or insufficient layers of joint compound, both of which can lead to visible cracks over time.
Identifying Different Types of Ceiling Cracks
Before starting any repair, it’s essential to identify the type of crack:
- Hairline Cracks: Thin, often cosmetic cracks caused by minor settling. These are usually superficial and can be easily fixed with a simple application of joint compound and paint.
- Straight Cracks: Usually follow the drywall tape, often due to poor workmanship. These cracks run along the seams of drywall panels and can often be repaired with new tape and compound.
- Spiderweb Cracks: Can indicate poor application of joint compound. These cracks form a pattern resembling a spiderweb and often result from uneven drying or application of materials.
- Deep Cracks: Signify more significant structural issues and may require professional attention. These cracks can be a sign of serious problems such as foundation issues or severe water damage, and it’s best to consult a professional if you encounter them.
Preparing for the Repair
Tools and Materials You’ll Need
To ensure a successful DIY ceiling crack repair, gather the following tools and materials:
- Utility Knife: For cutting away loose material and shaping the crack.
- Ladder: A sturdy ladder that allows you to reach the ceiling safely.
- Drywall Knife: For applying joint compound and smoothing it out.
- Joint Compound: A premixed or powder compound that hardens when it dries, used for filling cracks.
- Drywall Tape: Either paper or mesh tape to reinforce the joint compound and prevent future cracks.
- Sandpaper: To smooth the dried compound for a seamless finish.
- Paint Roller and Tray: For applying primer and paint to the repaired area.
- Primer and Ceiling Paint: To finish the job and match the repaired area with the rest of the ceiling.
- Drop Cloths: To protect your floor and furniture from dust and paint splatters.
Safety Precautions to Follow
Safety should always be a priority when working on ceiling repairs:
- Stable Ladder: Ensure your ladder is on a flat, stable surface and never stand on the top two rungs.
- Protective Gear: Wear goggles to protect your eyes from dust and debris, and a mask to avoid inhaling fine particles.
- Clear Area: Remove or cover furniture and other items in the work area to protect them from dust and damage. Lay down drop cloths to catch any falling debris and paint splatters.
Step-by-Step Guide to Hiding Ceiling Cracks
Cleaning and Preparing the Crack
- Clear the Area: Lay down drop cloths and ensure the area is clear of obstacles. Remove any nearby furniture or cover it with plastic sheeting to protect it from dust and debris.
- Cut a V-Groove: Use a utility knife to cut a V-shaped groove along the crack to remove loose material and provide a better surface for the joint compound. This groove helps the compound adhere better and creates a stronger bond.
Applying Joint Compound and Tape
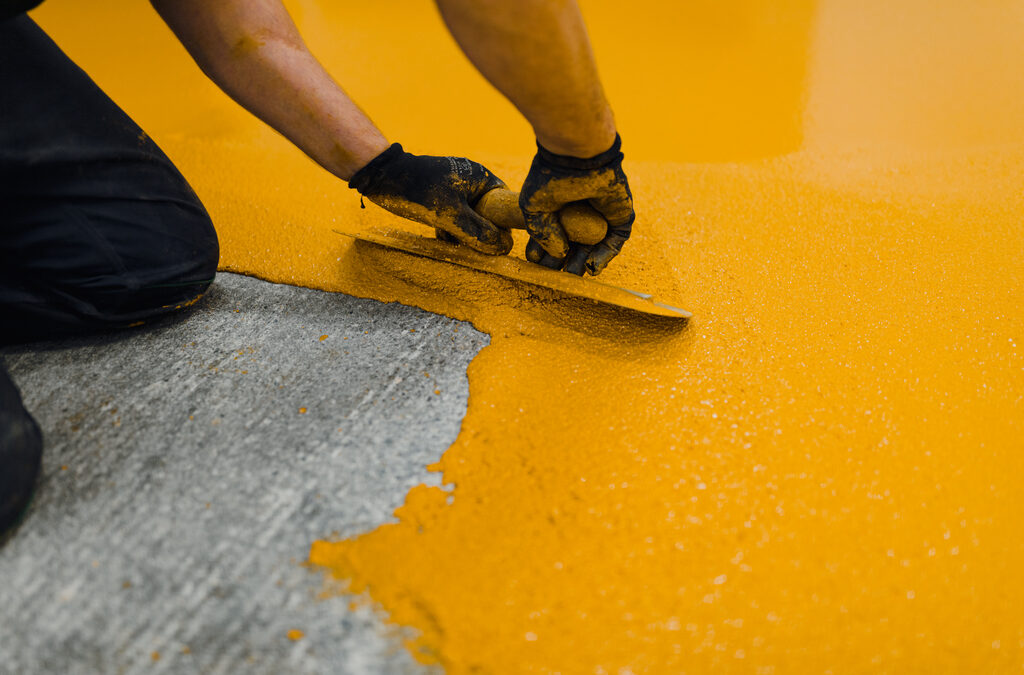
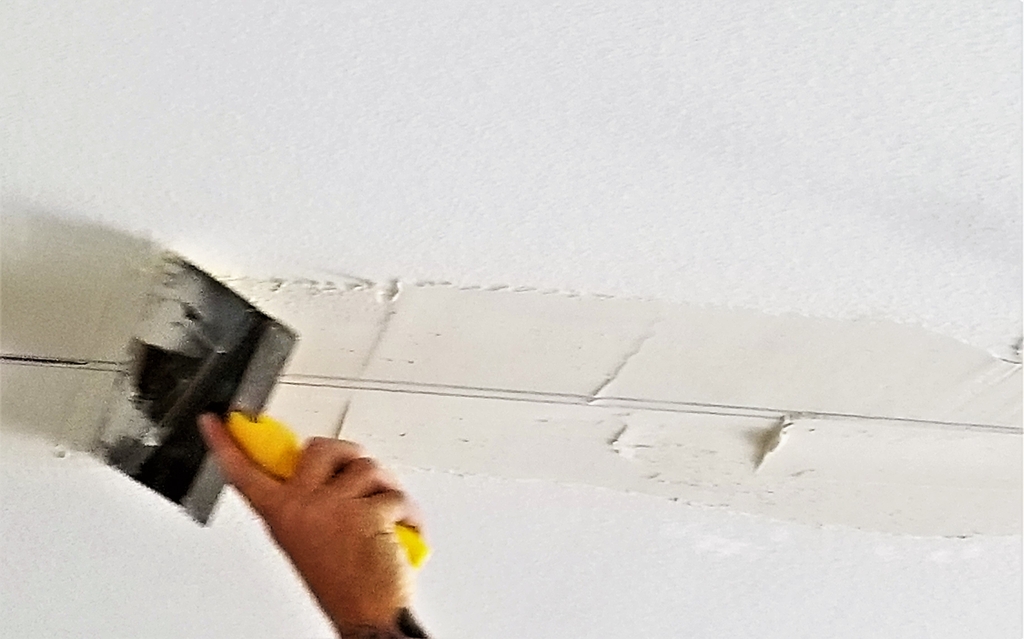
- Apply the First Layer: Fill the groove with joint compound using a drywall knife. Spread the compound evenly and ensure it fills the entire groove.
- Add Drywall Tape: Place the tape over the compound and press it in with the knife to remove air bubbles. The tape reinforces the compound and helps prevent future cracking.
- Second Layer of Compound: Apply another layer of joint compound over the tape, smoothing it out and feathering the edges. This creates a seamless transition between the repaired area and the rest of the ceiling.
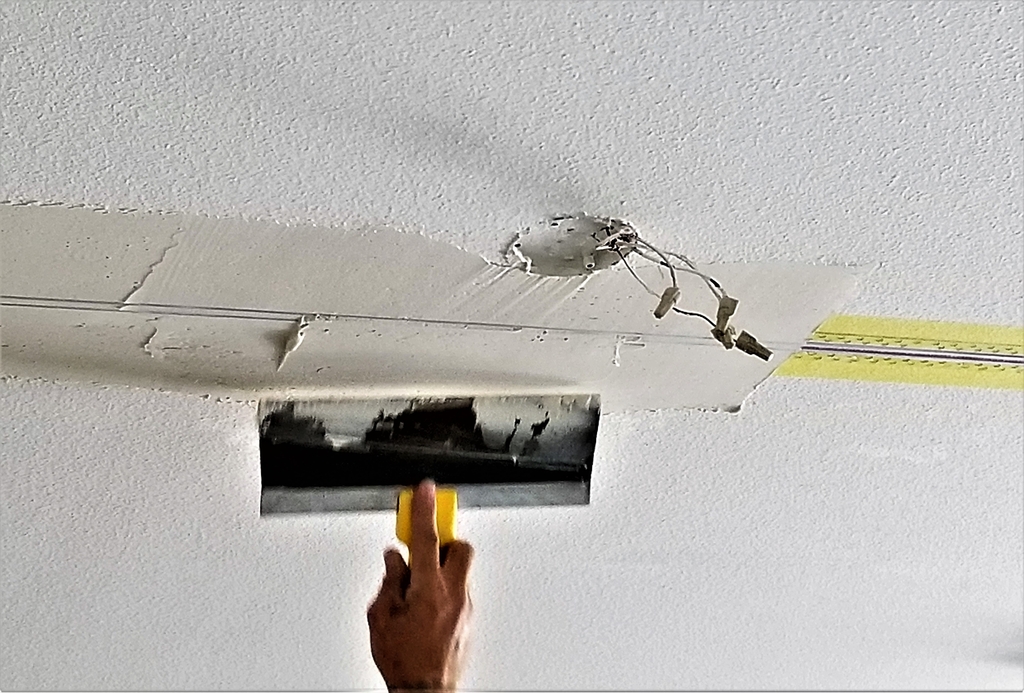
Sanding and Smoothing the Surface
- Let It Dry: Allow the compound to dry completely. Drying times can vary depending on the type of compound used and the room’s humidity.
- Sand the Area: Use sandpaper to smooth the surface, taking care to avoid damaging the tape. Sanding creates an even surface that blends with the rest of the ceiling.
Texturing and Painting the Ceiling
Matching the Existing Texture
- Texture Spray: Use a texture spray to match the existing ceiling texture. Practice on cardboard first to get the right consistency. This step is crucial for blending the repaired area with the rest of the ceiling.
Priming and Painting for a Seamless Finish
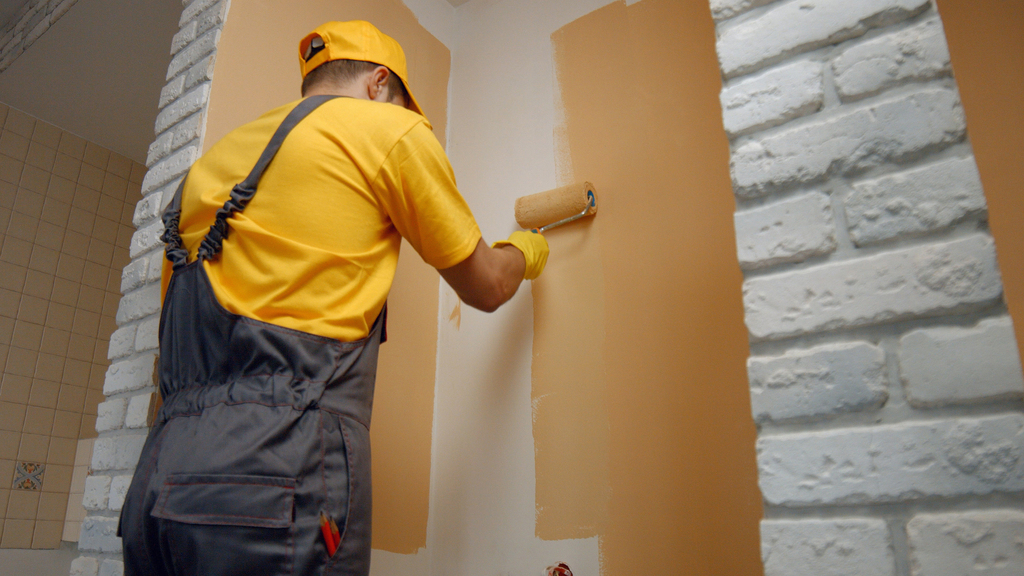
- Prime the Area: Apply a primer to ensure the paint adheres well. Primer also helps hide any differences in texture and color between the repaired area and the rest of the ceiling.
- Paint the Ceiling: Use a paint roller to apply ceiling paint, feathering out the edges for a seamless blend. Start in the center of the patch and work outward, using light, even strokes to avoid noticeable edges.

Preventative Measures
Tips to Prevent Future Ceiling Cracks
- Control Humidity: Use a dehumidifier in humid areas to reduce moisture. Excessive moisture can cause materials to expand and contract, leading to cracks.
- Regular Inspections: Check your roof and plumbing regularly to catch leaks early. Addressing leaks promptly can prevent water damage and subsequent ceiling cracks.
- Proper Installation: Ensure any new drywall or plaster is installed correctly. Properly installed materials are less likely to crack over time.
Regular Maintenance for Ceiling Integrity
- Seal Cracks Promptly: Address any new cracks as soon as they appear. Small cracks can be a sign of underlying issues, and early intervention can prevent them from worsening.
- Maintain Ventilation: Proper ventilation in attics and upper floors helps prevent moisture buildup. Good airflow reduces the risk of humidity-related cracking.
When to Call a Professional
Recognizing Serious Structural Issues
- Large Cracks: Cracks wider than 1/8 inch or extending across large areas may indicate structural problems. These types of cracks can signal significant issues that require expert assessment.
- Continuous Cracks: Cracks that extend from the ceiling down the wall suggest more significant issues. This could indicate foundation problems or severe structural damage.
Hiring a Professional for Major Repairs
If you’re facing severe structural issues, it’s best to hire a professional. Companies like Lifetime Painters offer expert repair services that can address both cosmetic and structural problems, ensuring your home remains safe and beautiful. Professionals have the experience and tools to handle complex repairs and can provide a long-lasting solution.
By following these steps, you can effectively hide ceiling cracks and maintain the integrity and appearance of your home. For larger projects or persistent issues, don’t hesitate to seek professional help.