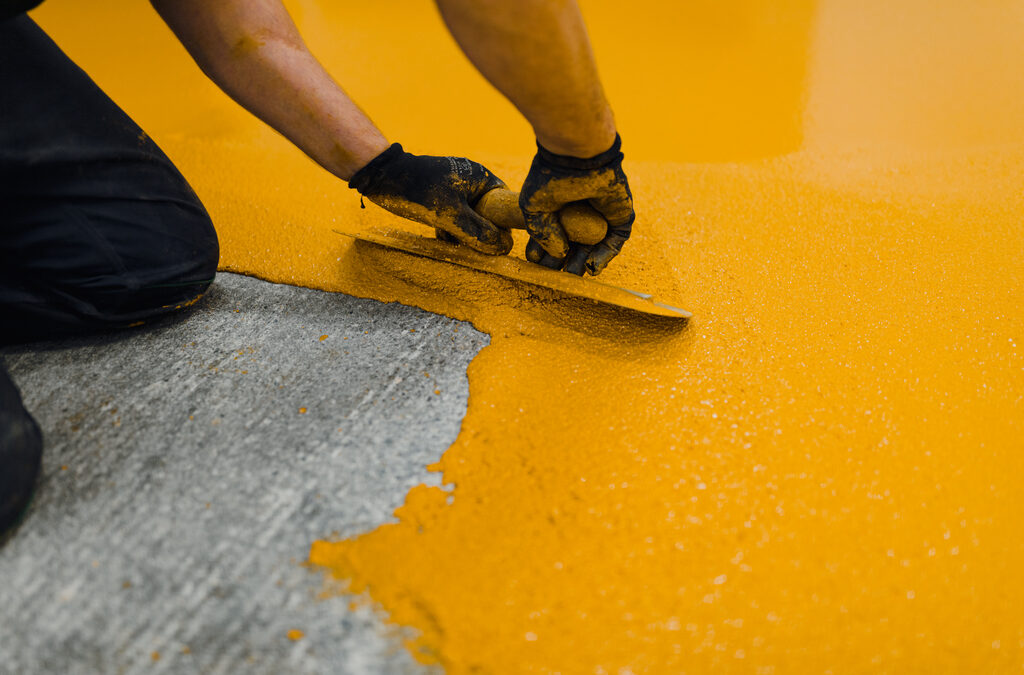

Achieving an even, smooth base is crucial for any painting project, and it all starts with how you apply the primer. Here are some professional tips to ensure your primer application sets the stage for a perfect finish:
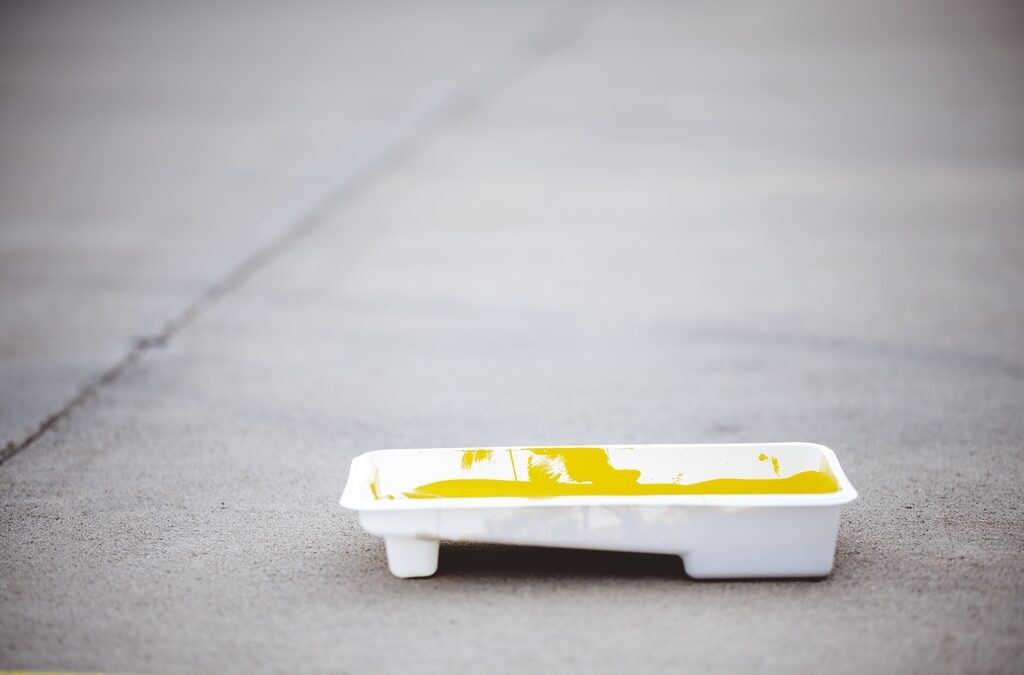
Choose the Right Tools for the Job
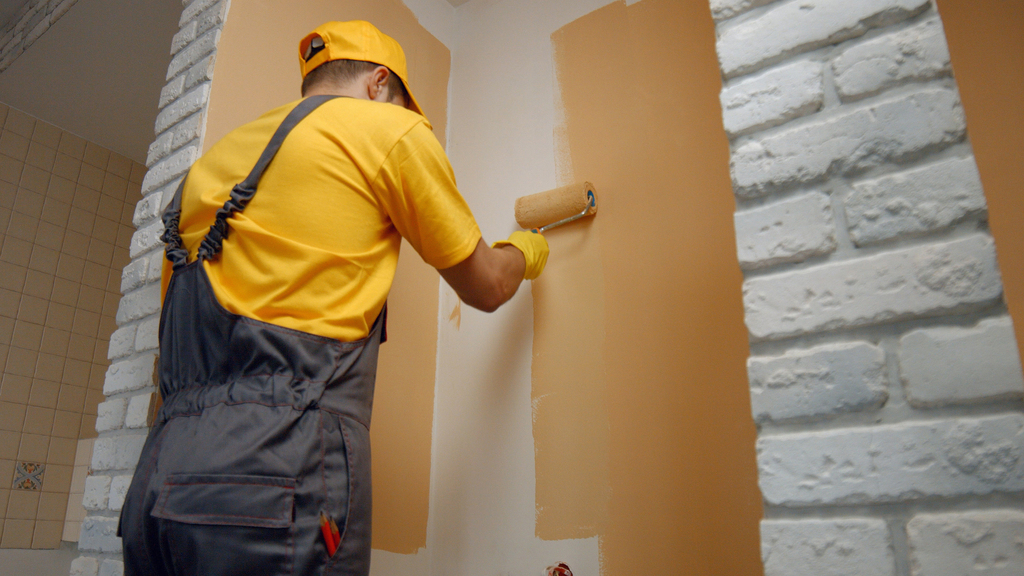
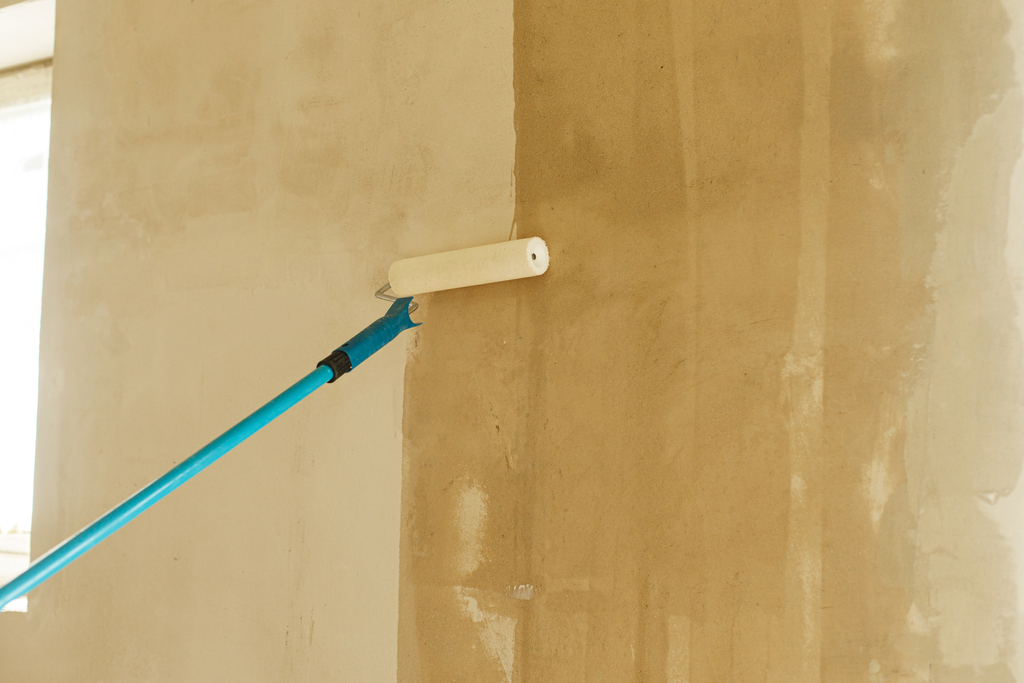
- For large, flat surfaces: A high-quality roller with a suitable nap length will provide the best coverage. Use a 3/8-inch nap for smooth surfaces and a thicker nap for textured surfaces.
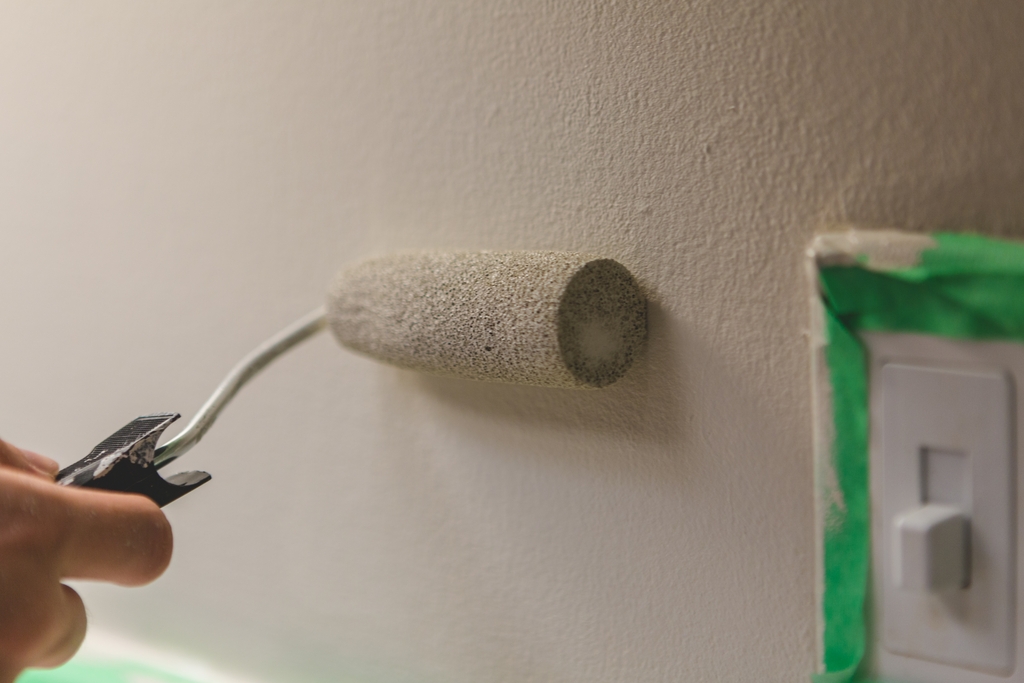
- For detailed work and edges: High-quality angled brushes ensure precision and help avoid buildup in corners and edges.
- For an ultra-smooth finish: Consider using a sprayer, especially for large projects or furniture. Ensure you’re familiar with the sprayer’s operation and practice on a test piece to perfect your technique.
Application Techniques
- Work in manageable sections: This allows for even coverage and prevents the primer from drying out before it’s evenly spread.
- Use the ‘W’ or ‘M’ technique with rollers: This helps distribute the primer more evenly across the surface, reducing the likelihood of missed spots or thick patches.
- Multiple thin coats are better than one thick coat: This prevents drips and ensures a quicker, more even drying process. Allow each coat to dry according to the manufacturer’s instructions before applying the next.
Timing Is Everything
- Dry to the touch vs. ready for painting: While a primer may be dry to the touch within a few hours, it might not be fully ready for a topcoat. Refer to the product’s specifications for the recommended curing time to ensure optimal adhesion and finish quality.
Advanced Techniques for Optimal Results
For those looking to elevate their painting projects from good to exceptional, mastering a few advanced techniques can make all the difference:
Surface-Specific Primer Application
- Wood: Sanding the surface lightly before applying an oil-based primer can seal the wood and provide a smooth base. For softwoods or woods prone to tannin bleeding, consider a tannin-blocking primer.
- Metal: Use a rust-inhibiting primer for iron and steel surfaces. For non-ferrous metals like aluminum and copper, an etching primer can provide better adhesion.
- Drywall: A drywall primer-sealer is ideal for new drywall, as it evens out the porosity and ensures a uniform finish.
Adjusting for Climate
- High humidity: Extend drying times and use a dehumidifier in the workspace to help speed up the process.
- Cold temperatures: Use a primer specifically formulated for lower temperatures and, if possible, increase the room’s temperature to within the ideal range for drying.
Testing for Readiness
- The tack test: Gently press a knuckle against the primer. If it leaves no print and feels dry, it’s ready for the next coat.
- The tape test: After the primer feels dry to the touch, apply a small piece of painter’s tape and remove it. If the primer stays intact, it’s ready.
By incorporating these detailed insights and tips into your primer application and painting process, you can ensure a professional-quality finish that stands the test of time LifeTime Painter believe. Not only will these techniques help achieve aesthetic perfection, but they’ll also contribute to the durability and longevity of your paint job.