Painting your apartment walls is a simple yet transformative project that can refresh your space and make it feel more personalized. With the right tools, techniques, and a bit of patience, even a beginner can achieve professional results. Here’s a comprehensive guide to help you through every step of the process.
What You’ll Need to Paint Your Apartment Walls
Before diving into your project, gather the following essential tools:
- Paint: Choose a wall paint that fits your aesthetic. Matte or eggshell finishes are great for a smooth, non-reflective look. Make sure to calculate how much you’ll need (one gallon typically covers 400 square feet).
- Primer: If you’re painting over a dark color or stained wall, using a primer helps create an even base. It also helps the paint adhere better and last longer.
- Paint Rollers and Brushes: Use a roller for large areas and a brush for “cutting in” along edges, corners, and trim.
- Painter’s Tape: Protect baseboards, outlets, and trim by using painter’s tape to ensure clean lines and avoid accidental splashes.
- Drop Cloths: These protect your floors and furniture from paint splatters and spills.
- Sanding Tools: Sandpaper (120-grit) is necessary to smooth out imperfections, ensuring a flawless finish.
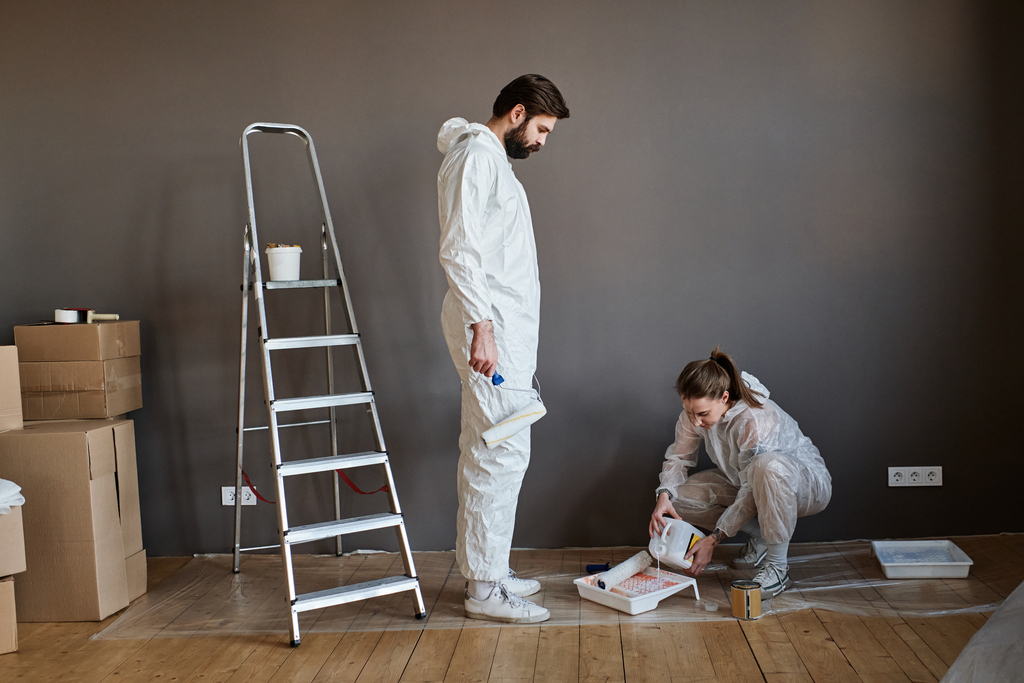
Preparing Your Apartment for Painting
Before picking up a brush, preparation is key to a successful painting job:
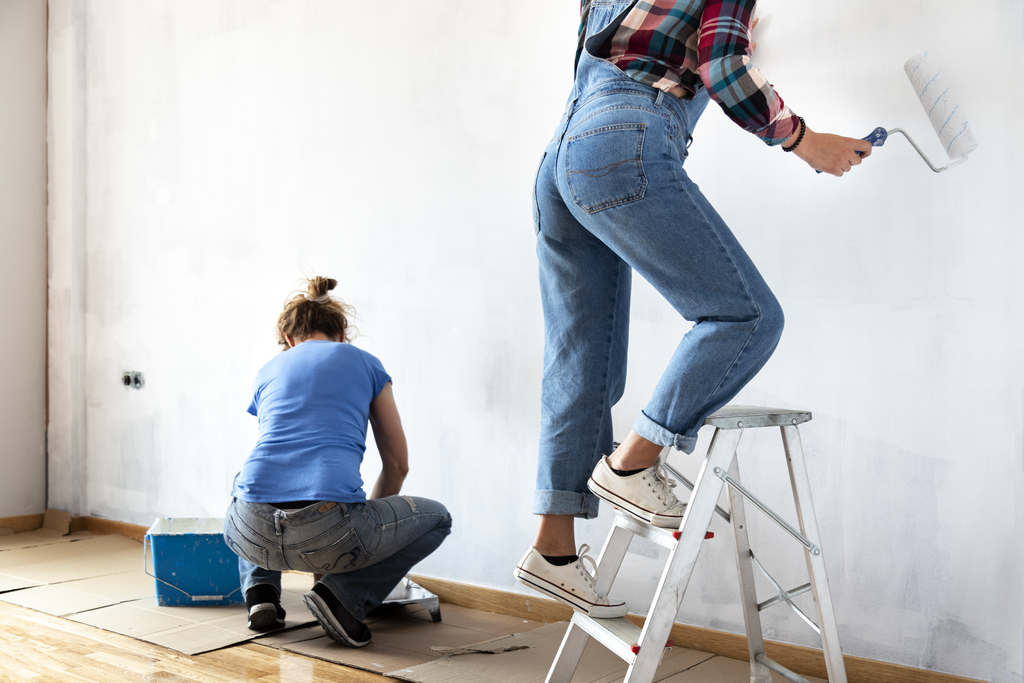
- Move and Cover Furniture: Push furniture to the center of the room and cover it with drop cloths to avoid splatters. Lay additional drop cloths along the floor.
- Clean the Walls: Wipe down your walls with a damp sponge to remove dust and dirt. This ensures better paint adhesion.
- Fix Any Wall Damage: Use spackle to fill in any holes, cracks, or dents. Once dry, sand the surface smooth for an even painting surface.
- Apply Painter’s Tape: Tape off areas like baseboards, trim, and outlets to create clean edges and prevent paint from getting on areas you don’t want to be painted.
Choosing the Right Paint for Apartment Walls
When selecting paint for your apartment walls, consider these factors:
- Finish: Matte or eggshell finishes are ideal for living spaces since they offer a clean, subtle look. Avoid glossy finishes for high-traffic areas as they can be harder to touch up.
- Color: Neutral colors are often the best choice for rentals, as they are easy to repaint when moving out. If you’re renting, always check with your landlord before painting.
Step-by-Step Guide to Painting Apartment Walls
1. Cleaning and Prepping the Walls
After cleaning and sanding, make sure your surface is smooth. Walls with stains, imperfections, or glossy finishes should be primed first.
2. Priming the Walls
Priming is especially important if you’re painting a light color over dark walls. Apply one coat of primer using a roller, then let it dry.

3. Applying the Paint: Tips for Success
- Cut in First: Use a brush to paint the edges of the wall where it meets the ceiling, baseboards, and corners. This technique is called “cutting in” and ensures sharp, clean lines.
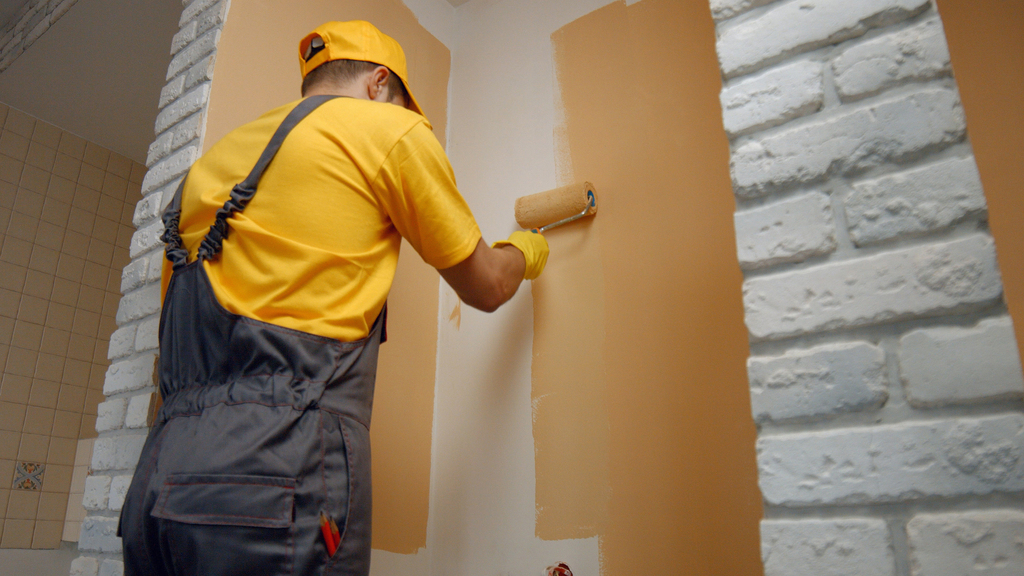
- Roll the Paint: Use a roller to paint large sections of the wall. Apply paint in a “W” or “V” shape to ensure even coverage and avoid streaks.
- Multiple Coats: You’ll likely need at least two coats for full coverage. Allow each coat to dry completely before applying the next.
4. Finishing Touches and Clean-Up
Once the paint is dry, carefully remove the painter’s tape. Clean your brushes and rollers with soapy water, and store leftover paint for future touch-ups. If you need professional assistance or don’t have time to take on a project like this, consider hiring experienced painters like Lifetime Painters for guaranteed high-quality results.
Conclusion
Painting your apartment walls is a rewarding project that can drastically improve the look of your space. By following these simple steps, you’ll achieve a professional-looking finish even as a beginner. Whether you’re doing it yourself or calling in experts like Lifetime Painters, a fresh coat of paint can breathe new life into your home.
Good luck, and happy painting!

