Painting drywall might seem simple, but achieving a smooth, professional finish requires careful preparation and the right techniques. In this step-by-step guide, we’ll walk you through how to paint drywall directly, ensuring your walls look flawless every time.
Essential Tools and Materials for Painting Drywall
Before you start, gather the necessary tools to make your job easier and more efficient:
- Drywall Primer: Priming is essential for preparing the porous surface of drywall. It ensures that the paint adheres evenly, prevents blotchiness, and results in a uniform finish. Using a primer specifically designed for drywall is key.
- Sanding Tools: After applying joint compound and before painting, use a sanding sponge or a pole sander to smooth out imperfections. Start with coarse-grit sandpaper and then switch to a finer grit for a perfectly smooth surface.
- Painter’s Tape and Drop Cloths: Protect your trim, windows, and floors with painter’s tape and drop cloths. This ensures a clean, professional look without splashes or mistakes.
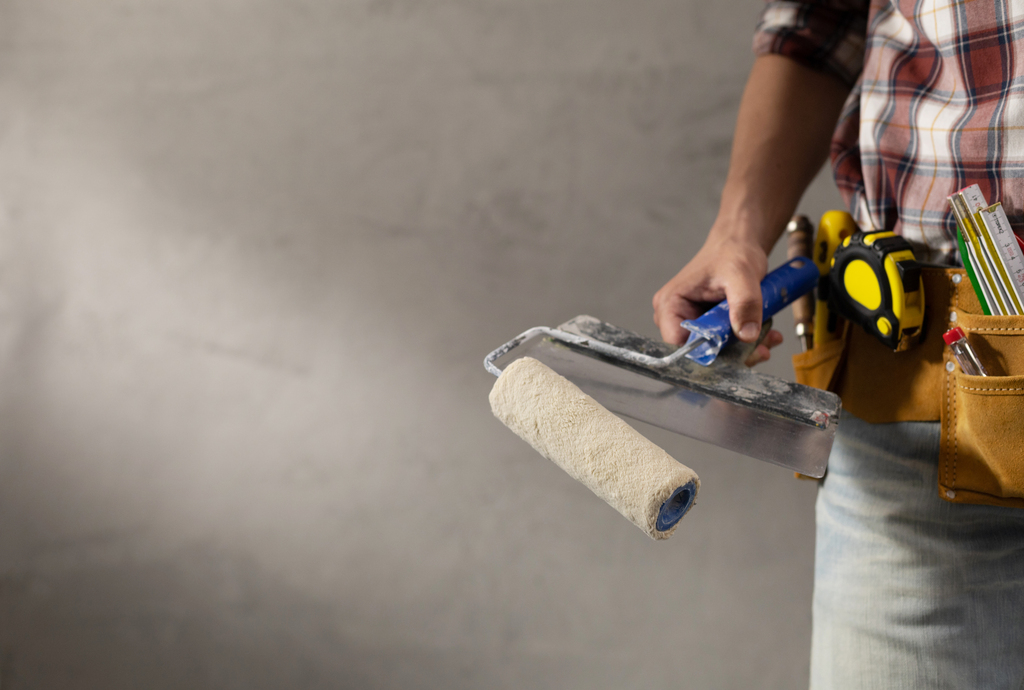
- Paint Rollers and Brushes: Use a roller for large surface areas and a high-quality angled brush for precision around edges and corners. A foam roller can also help achieve an ultra-smooth finish on flat drywall.
- Joint Compound and Taping Knife: Before sanding, apply joint compound to cover seams and smooth out imperfections. A taping knife will help ensure an even application.
For professional assistance and recommendations on the best tools and paints, consider reaching out to local experts like Lifetime Painters, who offer valuable advice on drywall painting and home improvement projects.
Step-by-Step Guide to Painting Drywall
- Prepare the Surface
Start by cleaning the drywall to remove dust, dirt, or debris. Sand the surface thoroughly to ensure a smooth base for painting. A well-prepped wall is key to achieving professional results. - Apply Drywall Primer
Once the surface is smooth, apply a drywall-specific primer. This step ensures even absorption of the paint and prevents any inconsistencies in the final coat. Be sure to allow the primer to dry completely before moving forward. - Cut in the Edges
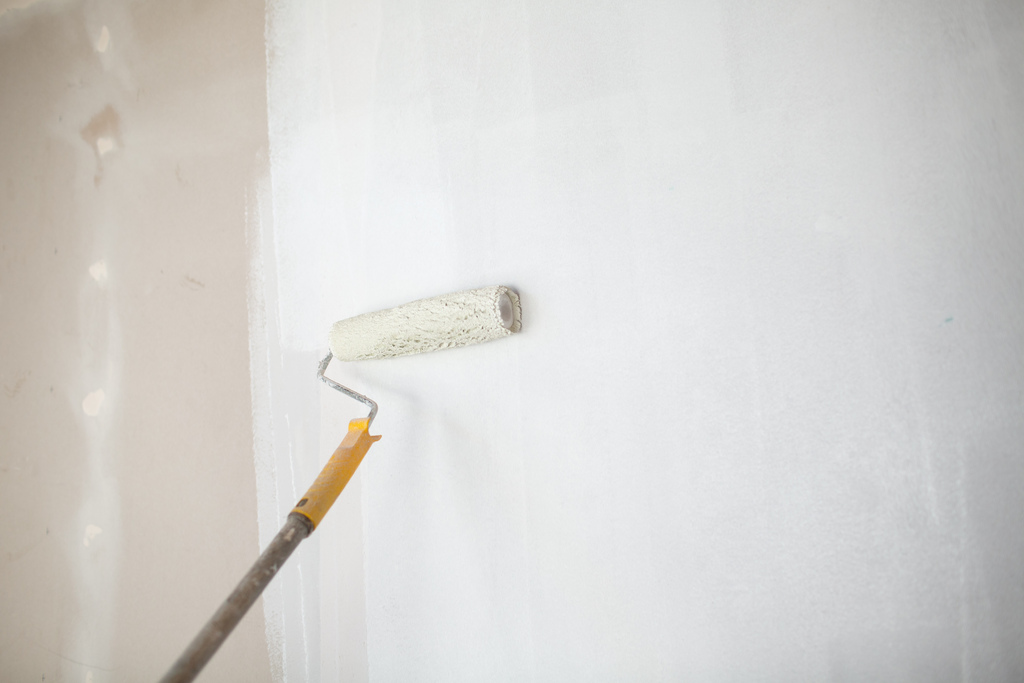
Using an angled brush, carefully paint the edges and corners of the wall. This technique, known as “cutting in,” allows for precision and avoids overlap when you roll the larger areas. - Roll the Paint
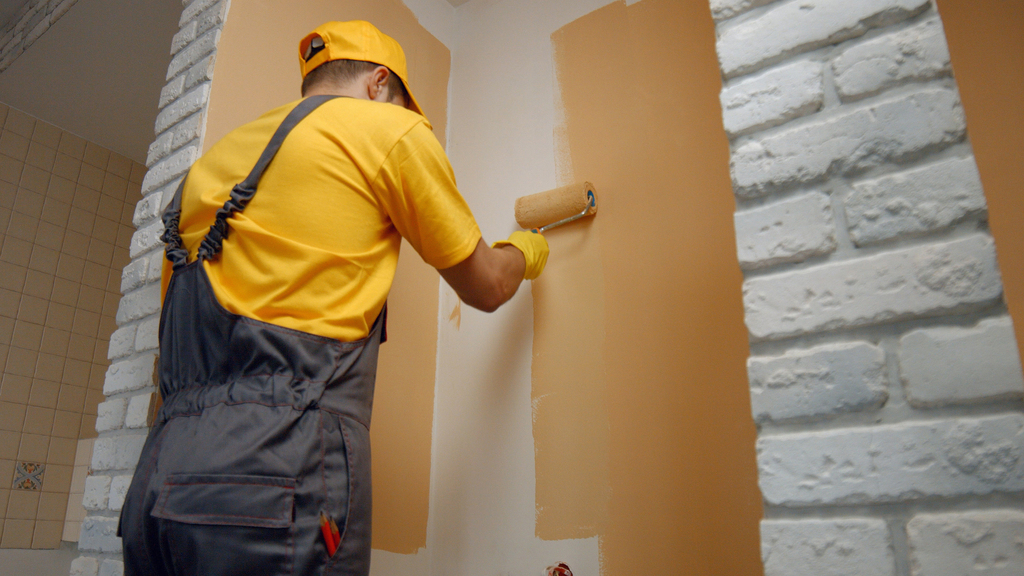
After cutting in, use a roller to apply paint to the larger areas of the wall. For best results, use the “W” or “M” pattern technique to ensure even coverage. Avoid over-saturating the roller, as too much paint can lead to drips and uneven finishes. - Apply Multiple Coats
To get a flawless finish, apply at least two coats of paint. Allow each coat to dry completely before applying the next. A second coat will even out any minor inconsistencies and enhance the durability of the paint.
Common Mistakes to Avoid
- Skipping Primer: Always use a drywall primer. Skipping this step can lead to blotchiness and poor paint adhesion.
- Not Sanding Enough: Properly sand the drywall before priming to ensure a smooth finish. Failing to do so can result in visible imperfections through the paint.
- Rushing Between Coats: Let each coat dry fully before applying the next. Painting over wet layers can lead to peeling or uneven finishes.
For additional tips or to hire professional painters for your drywall project, check out Lifetime Painters. Their expertise in painting and home renovation ensures you’ll achieve flawless results on any drywall surface.
By following these steps and using the right tools, you can paint drywall directly with confidence and achieve a professional-grade finish that will last for years to come.

