Prepping drywall for painting is a crucial step to ensure a smooth, professional finish. Whether you’re a DIY enthusiast or a beginner, following these steps will help you achieve the best results. This guide covers everything from cleaning and repairing to sanding and priming, with expert tips from Lifetime Painters.
Why Proper Drywall Preparation Matters
Proper drywall preparation is essential for a flawless paint job. It ensures that the paint adheres well, lasts longer, and looks professional. Skipping or rushing through the prep work can lead to unsightly imperfections and peeling paint down the line.
Tools and Materials You’ll Need
Before you start, gather the necessary tools and materials:
- Dust mask
- Drop cloths
- Sanding sponge or sandpaper (120-150 grit)
- Drywall compound and putty knife
- Primer
- Paint roller and brushes
- Painter’s tape
- Vacuum or tack cloth
Step 1: Cleaning the Drywall Surface
Start by cleaning the drywall surface to remove any dust, dirt, or grease. Use a damp sponge or cloth to wipe down the walls. This step ensures that the primer and paint adhere properly. For stubborn stains, a mild detergent solution can be used, followed by a thorough rinse with clean water.
Step 2: Repairing Any Damage
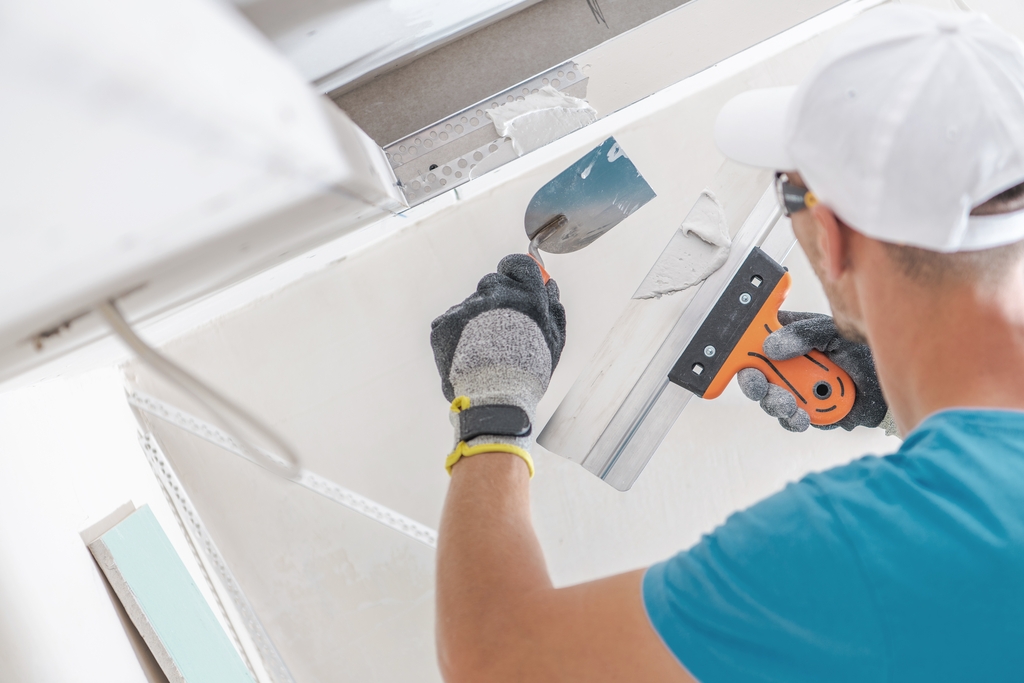
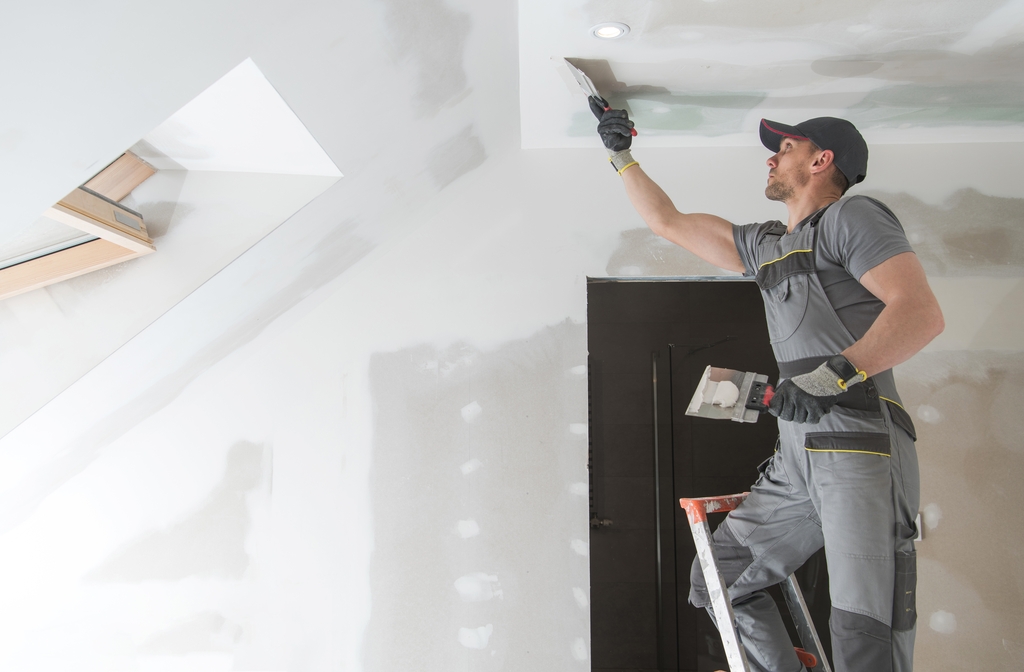
Inspect the drywall for any dents, holes, or cracks. Use a drywall compound to fill in any imperfections. Apply the compound with a putty knife, smoothing it out to ensure it’s level with the rest of the wall. Allow it to dry completely, then sand it smooth. Repeat this process if necessary to achieve a perfect surface.
Step 3: Sanding the Drywall
Sanding is a critical step to ensure a smooth finish. Use a sanding sponge or sandpaper with 120-150 grit to lightly sand the entire surface of the drywall. This helps to remove any rough patches or raised areas. Be sure to wear a dust mask and use drop cloths to protect your floors. After sanding, vacuum the dust or wipe it down with a tack cloth.
Step 4: Applying Primer
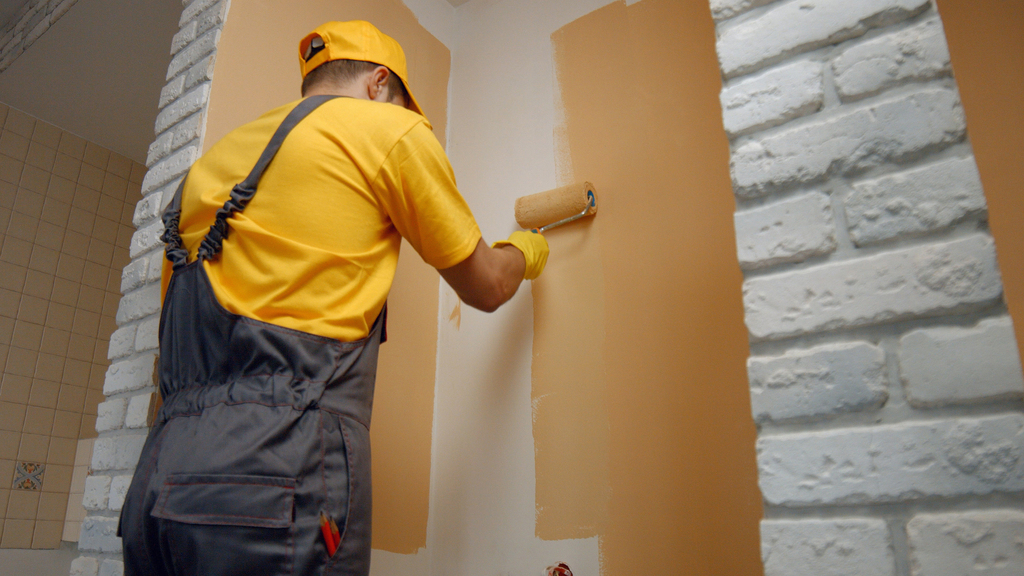
Priming is essential for a long-lasting paint job. Choose a high-quality primer suitable for drywall. Apply the primer evenly using a paint roller, starting from the top and working your way down. Use a brush to cut in around edges and corners. Allow the primer to dry completely according to the manufacturer’s instructions before applying paint.
Common Mistakes to Avoid
Avoid these common mistakes to ensure a professional finish:
- Skipping the cleaning step, which can lead to poor paint adhesion.
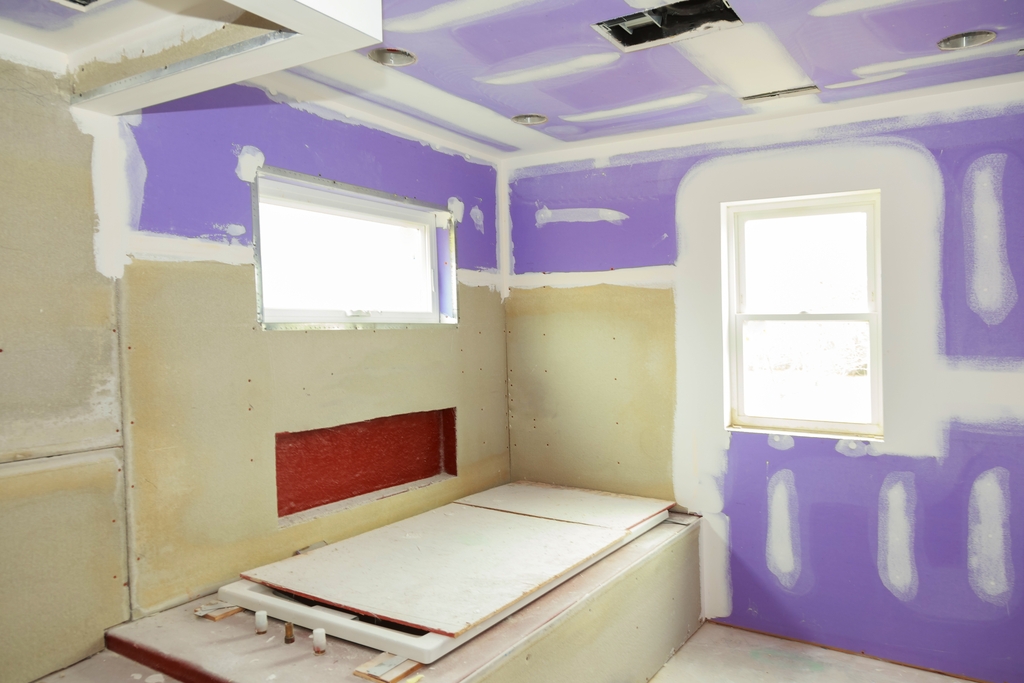
- Not filling and sanding imperfections properly, resulting in a bumpy surface.
- Neglecting to use primer, which can cause the paint to peel or look uneven.
- Rushing through the sanding process, leading to visible flaws.
Additional Tips for a Smooth Finish
For the best results, consider these additional tips:
- Use painter’s tape to protect trim and edges from paint splatters.
- Work in a well-ventilated area to ensure proper drying of primer and paint.
- Apply paint in thin, even coats to avoid drips and achieve a uniform finish.
By following these steps and using the right tools and materials, you can prepare your drywall for painting like a pro. For more expert tips and professional painting services, visit Lifetime Painters. Their team of experienced painters can help you achieve the perfect finish for your home.

