Understanding Stucco and Its Common Issues
Stucco is a durable and attractive finish for homes and buildings, but over time, it can develop cracks and holes due to weathering, settling, and impact damage. Understanding the common issues that affect stucco can help you address them effectively. Common problems include hairline cracks, larger fissures, and holes caused by physical damage. Addressing these issues promptly can prevent further deterioration and maintain the structural integrity and appearance of your stucco surface.
Tools and Materials Needed for Stucco Repair
Before you begin repairing your stucco, gather the necessary tools and materials. Having everything on hand will make the process smoother and more efficient. Here’s what you’ll need:
- Protective Gear: Gloves, safety glasses, and a dust mask
- Cleaning Supplies: Wire brush, sponge, and a bucket of water
- Repair Materials: Premixed stucco repair mix or stucco patch, bonding agent, and paint
- Application Tools: Trowel, putty knife, and a hawk
- Finishing Tools: Float, sponge, and texture roller
Preparing the Stucco Surface for Repair
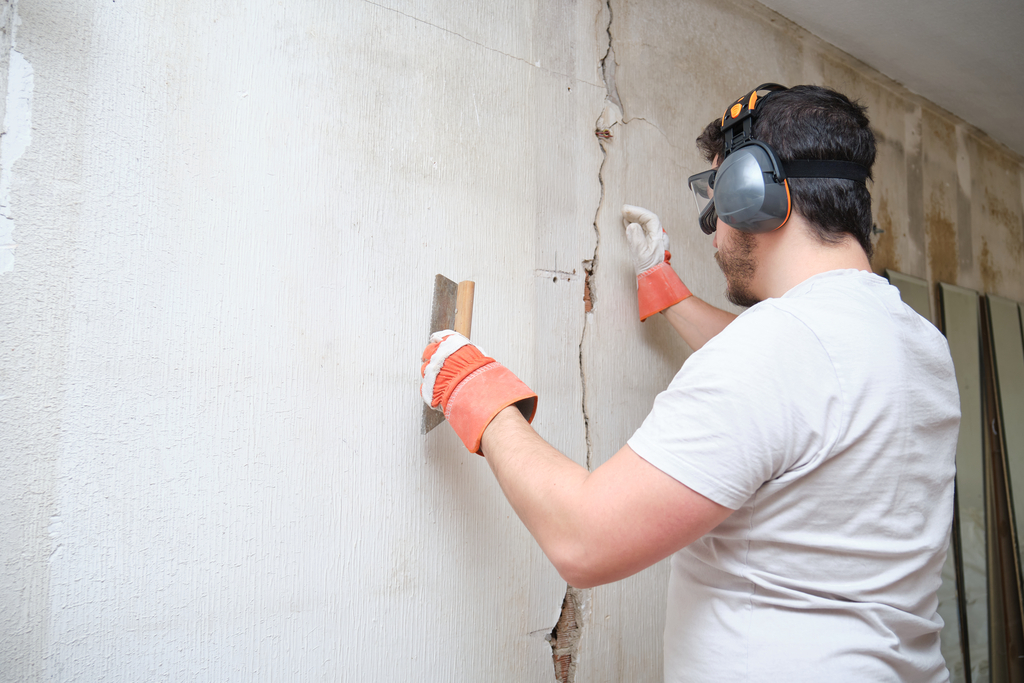
Proper preparation of the stucco surface is crucial for a successful repair. Follow these steps to prepare the area:
- Clean the Area: Use a wire brush to remove any loose or damaged stucco. Clean the surface with a sponge and water to remove dirt and debris.
- Assess the Damage: Identify the extent of the damage and determine whether it’s a small crack, a larger crack, or a hole.
- Apply a Bonding Agent: For larger cracks and holes, apply a bonding agent to the damaged area. This will help the new stucco adhere better to the existing surface.
Step-by-Step Guide to Repairing Stucco Cracks
Repairing stucco cracks is a straightforward process if you follow these steps:
- Widen the Crack: Use a putty knife to widen the crack slightly. This creates a better surface for the repair material to adhere to.
- Apply Stucco Repair Mix: Using a trowel, apply the stucco repair mix to the crack, pressing it in firmly to fill the entire gap.
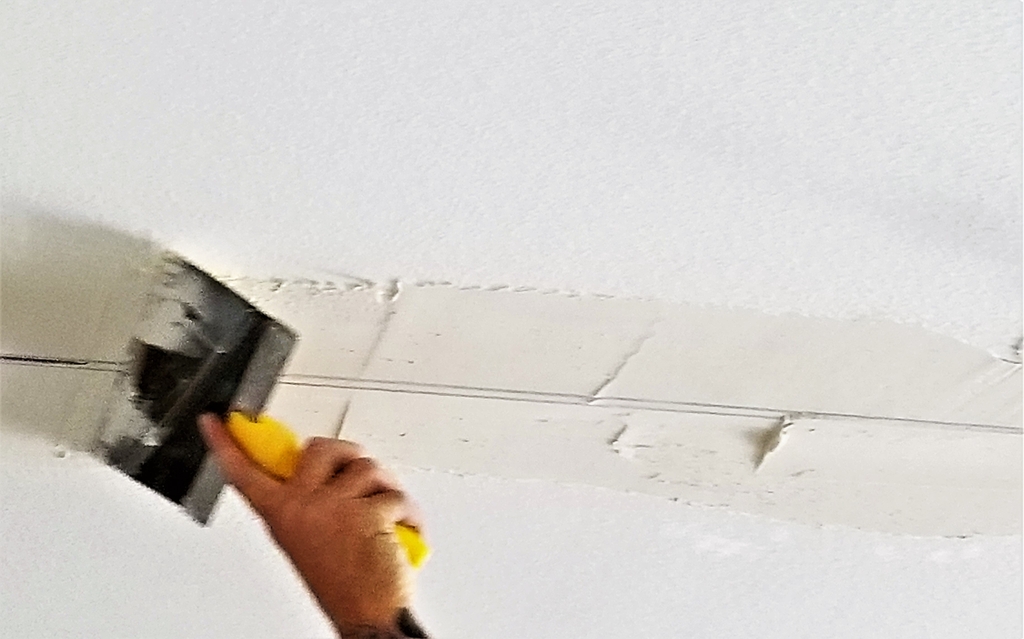
- Smooth the Surface: Smooth the repaired area with a trowel or a float, ensuring it is level with the surrounding stucco.
- Allow to Dry: Let the repair dry according to the manufacturer’s instructions, usually for 24-48 hours.
- Texture and Paint: Match the texture of the repaired area with the existing stucco using a texture roller or sponge. Once dry, paint the repaired area to match the rest of the wall.
How to Patch Large Holes in Stucco
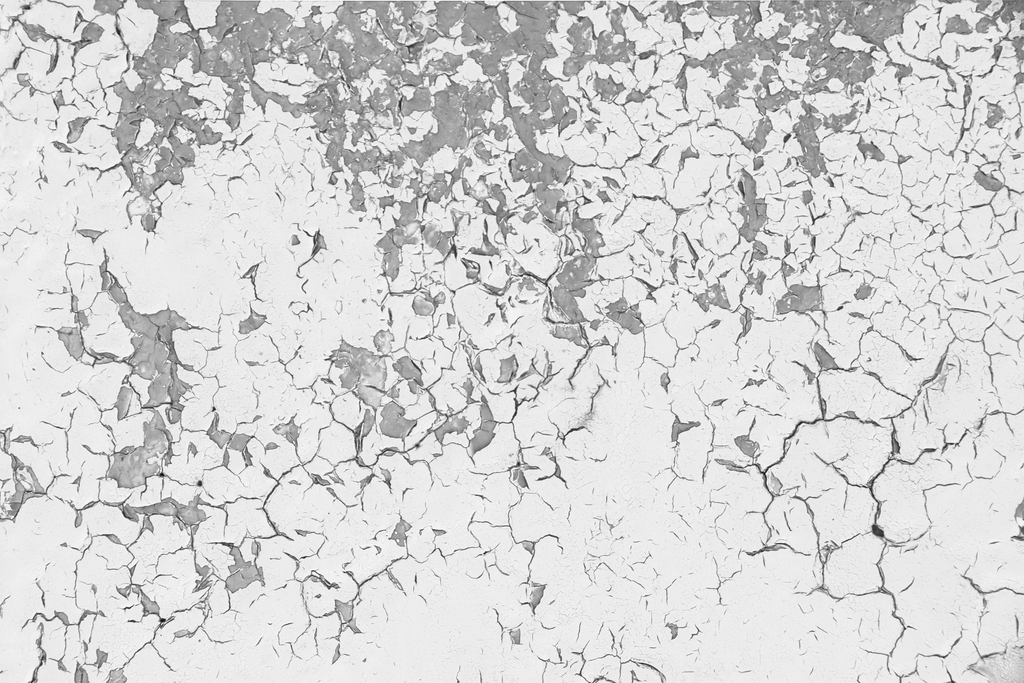
Patching larger holes requires a slightly different approach:
- Clean and Prep the Hole: Remove any loose debris from the hole and clean the area thoroughly.
- Apply a Base Coat: Apply a base coat of stucco patch to the hole, pressing it firmly into place.
- Build Up Layers: Add additional layers of stucco patch, allowing each layer to dry before applying the next. Build up the layers until the patch is level with the surrounding surface.
- Smooth and Texture: Smooth the final layer with a trowel and match the texture to the existing stucco.
- Paint and Seal: Once the patch is fully dry, paint and seal the area to protect it from moisture and weathering.
Finishing Touches: Painting and Sealing Stucco
After repairing the stucco, it’s important to finish the job by painting and sealing the surface. This not only improves the appearance but also adds an extra layer of protection. Use a high-quality exterior paint that matches the existing color of your stucco. Apply a sealant to help prevent future damage from moisture and environmental factors.
Common Mistakes to Avoid in Stucco Repair
Avoid these common mistakes to ensure a successful stucco repair:
- Skipping Surface Preparation: Properly cleaning and prepping the surface is crucial for a long-lasting repair.
- Using the Wrong Materials: Make sure to use materials that are specifically designed for stucco repair.
- Ignoring Drying Times: Allow each layer of stucco to dry completely before applying the next to prevent cracking and ensure durability.
- Mismatch in Texture and Color: Take the time to match the texture and color of the repaired area with the existing stucco for a seamless look.
Tips for Maintaining Your Stucco
Regular maintenance can help prevent future damage to your stucco. Here are some tips to keep your stucco in good condition:
- Inspect Regularly: Periodically check your stucco for cracks or damage and address issues promptly.
- Clean Annually: Clean your stucco surface annually to remove dirt and debris.
- Seal Every Few Years: Apply a sealant every few years to protect your stucco from moisture and environmental damage.
For those who prefer to leave stucco repairs to the professionals, Lifetime Painters offers expert stucco repair services. With years of experience and a commitment to quality, Lifetime Painters can handle all your stucco repair needs, ensuring a flawless finish and long-lasting results.

