
Repainting concrete walls is an excellent way to refresh the look of your space, whether it’s an interior basement wall or an outdoor surface. With the right approach, you can transform dull, aged concrete into a vibrant, attractive feature of your home. This guide will take you through each stage of the process, ensuring that you achieve a professional-looking finish.
Why Repaint Concrete Walls?
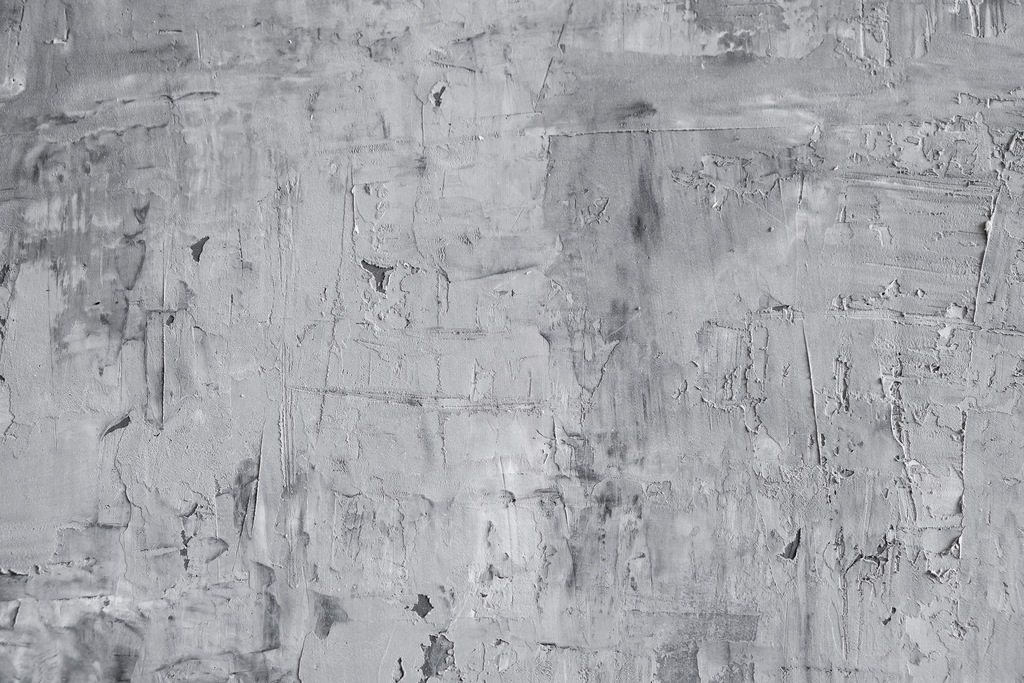
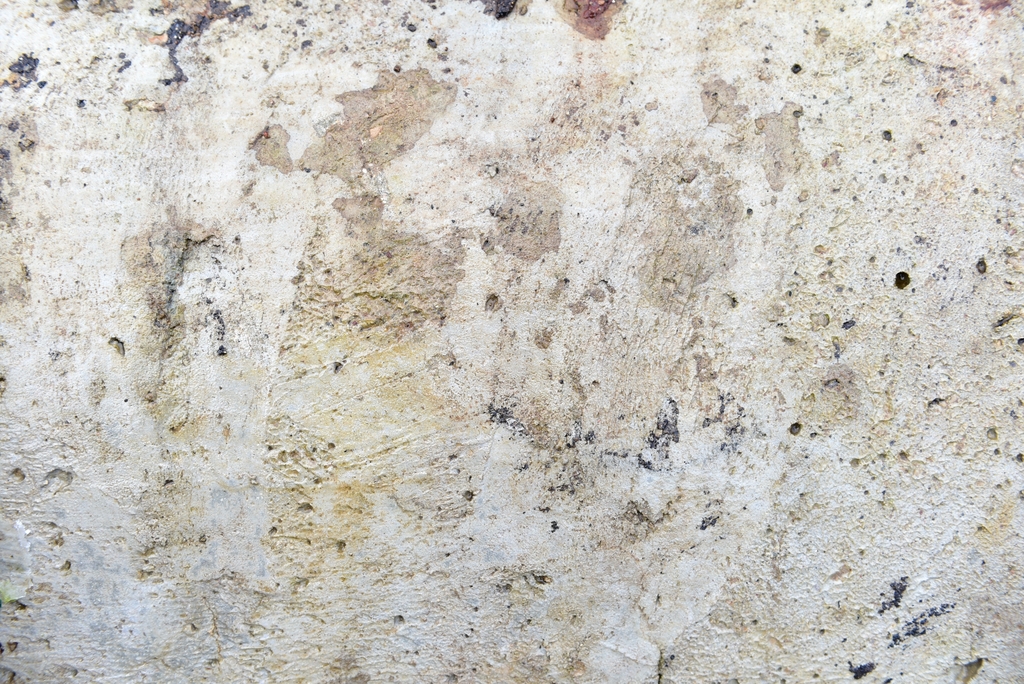
Concrete walls, while durable, are prone to becoming stained, chipped, or simply outdated over time. Repainting them not only improves their aesthetic appeal but also protects the surface from further damage. For example, painting outdoor concrete walls with the appropriate weather-resistant paint can shield them from the effects of rain, UV rays, and temperature fluctuations. Indoors, a fresh coat of paint can lighten a space, making it feel more welcoming and less industrial.
Moreover, repainting your concrete walls allows you to express your personal style. Whether you opt for a bright, bold color or a more subtle, neutral shade, the right paint can make your space look polished and intentional. Remember, the color you choose will significantly impact the room’s overall vibe, so take your time selecting the perfect hue.
Essential Tools and Materials for Repainting Concrete Walls
Before you begin the painting process, it’s crucial to gather all the necessary tools and materials. Having everything on hand will make the process smoother and help you avoid unnecessary delays.
- Paint: For concrete walls, you’ll need a paint that can withstand the demands of the surface. Acrylic latex paint is a great choice for indoor walls, offering durability and ease of application. For outdoor walls, epoxy paint is preferred due to its resistance to harsh weather conditions.
- Primer: A high-quality concrete primer is essential. It ensures the paint adheres properly to the surface, reducing the likelihood of peeling and chipping. Priming also helps to smooth out any minor imperfections in the concrete.
- Brushes and Rollers: Opt for brushes and rollers specifically designed for rough surfaces like concrete. This will help you achieve even coverage and prevent the paint from looking streaky.
- Concrete Cleaner: Before painting, the walls need to be spotless. A concrete cleaner will help remove any grime, oil, or previous paint residues, ensuring a clean surface for the primer and paint.
- Concrete Crack Filler: Inspect the walls for cracks or holes. These should be filled with a concrete crack filler, which will prevent moisture from seeping in and causing the paint to peel.
- Drop Cloths and Painter’s Tape: Protect your floors and adjacent surfaces from paint splatters. Drop cloths and painter’s tape are inexpensive but essential tools for a clean job.
- Protective Gear: Painting concrete can be dusty and messy. Use gloves, goggles, and a respirator mask to protect yourself from dust, fumes, and splashes.
Having these tools and materials ready will set the stage for a smooth and efficient painting process. If you’re uncertain about the best products for your project, consult with professionals or visit reputable sources like Lifetime Painters, who can provide expert recommendations.
Preparing Your Concrete Walls for Painting
Preparation is arguably the most critical step in repainting concrete walls. Proper prep work ensures that the paint adheres well and lasts longer, giving you a finish that looks professional and durable.
1. Cleaning the Walls: Start by thoroughly cleaning the walls. Use a concrete cleaner along with a stiff brush to scrub off any dirt, grime, or old paint. If the walls are particularly dirty or have stubborn stains, consider using a pressure washer. For indoor walls, a bucket of warm water mixed with a mild detergent will suffice. Allow the walls to dry completely before moving on to the next step.
2. Repairing Cracks and Damage: After cleaning, inspect the walls for cracks, holes, or any other damage. These need to be filled with a concrete crack filler. Apply the filler with a caulk gun, smoothing it out to match the surface of the wall. Once filled, allow the cracks to dry completely. This might take a few hours or even a day, depending on the filler used.
3. Sanding Rough Areas: If the walls have rough or uneven areas, use sandpaper or a concrete grinder to smooth them out. This will help the paint adhere better and create a more uniform finish. Be sure to wear a dust mask and goggles during this step to protect yourself from dust.
4. Priming the Walls: Once the surface is clean, repaired, and smooth, it’s time to apply a concrete primer. The primer acts as a bonding agent between the concrete and the paint, ensuring a long-lasting finish. Use a roller for large areas and a brush for edges and corners. Allow the primer to dry completely before proceeding to paint.
Taking the time to properly prepare your concrete walls will make all the difference in the final result. A well-prepped wall is easier to paint, and the paint will adhere better, look smoother, and last longer.

Choosing the Right Paint for Concrete Walls
Selecting the right paint is crucial for the success of your project. Concrete is a porous material, which means it requires paint that can bond well and withstand the environment it’s in.
Acrylic Latex Paint: This type of paint is water-based and works well for interior concrete walls. It’s easy to apply, dries quickly, and is available in a wide range of colors. However, it may not be the best choice for high-traffic areas or outdoor walls, as it is less durable than other options.
Epoxy Paint: Epoxy paint is a more durable option, ideal for outdoor concrete walls or areas exposed to heavy wear and tear. It is resistant to moisture, chemicals, and extreme temperatures, making it perfect for garages, patios, or basement walls. Applying epoxy paint requires a bit more effort, but the results are long-lasting and highly resistant to damage.
Elastomeric Paint: This paint is designed to move with the concrete, which expands and contracts with temperature changes. It’s especially useful for exterior walls in regions with significant temperature fluctuations. Elastomeric paint creates a thick, waterproof coating that can bridge small cracks, providing extra protection against water damage.
If you’re unsure about which type of paint to choose, Lifetime Painters offers expert advice and can help you select the best product for your specific needs.
Step-by-Step Guide to Repainting Concrete Walls
Now that your walls are prepped and you’ve chosen the right paint, it’s time to get started with the actual painting process.
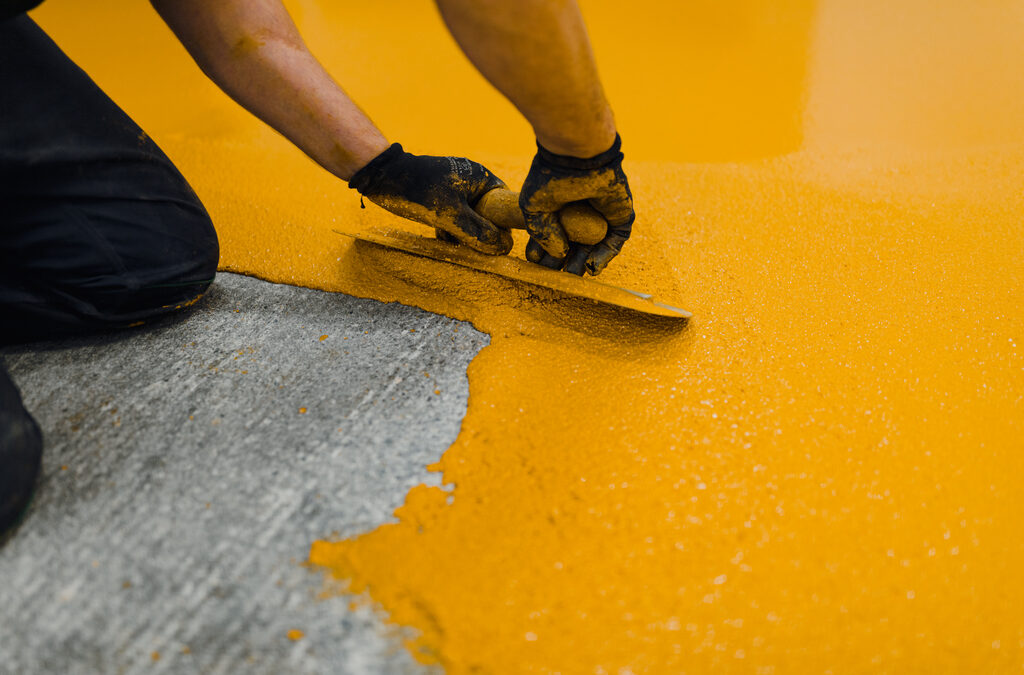
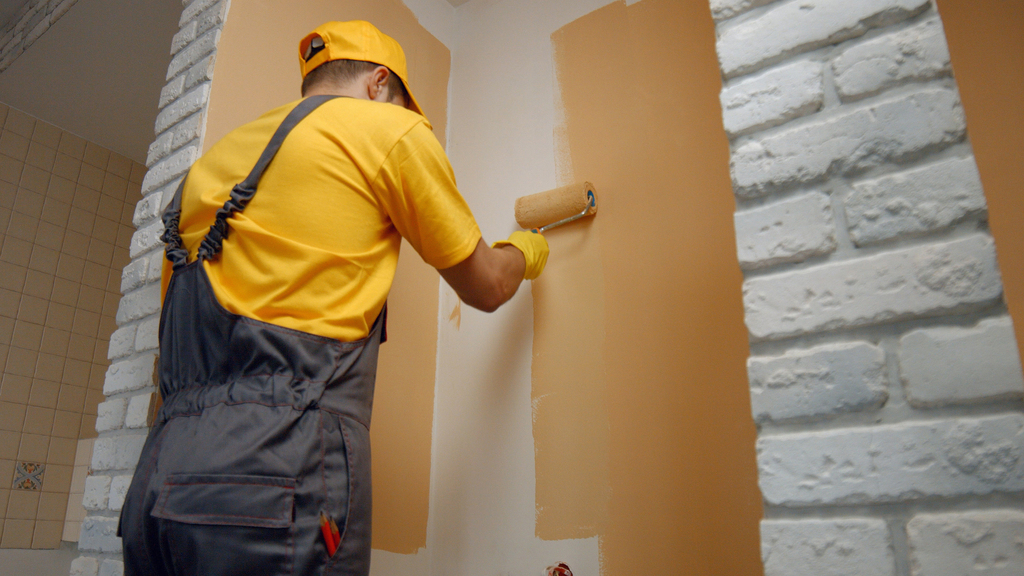
1. Applying the Base Coat: Start by applying a base coat of paint with a roller. Use long, even strokes to ensure consistent coverage. Work in small sections, starting from the top of the wall and working your way down. This technique helps prevent drips and allows you to maintain a wet edge, which reduces lap marks.
2. Cutting in with a Brush: Use a high-quality brush to paint the edges, corners, and any other areas the roller can’t reach. Cutting in helps create clean, crisp lines and ensures that every part of the wall is covered.
3. Applying Additional Coats: After the first coat has dried (typically overnight), assess the coverage. If necessary, apply a second or even third coat of paint. Each coat should be allowed to dry completely before the next is applied. Multiple coats may be required to achieve the desired depth of color and uniformity, especially if you’re covering a dark or uneven surface.
4. Allowing for Proper Drying: The drying time between coats is crucial for a durable finish. Avoid rushing this step, as painting over a partially dry coat can lead to peeling and uneven texture. For the best results, follow the paint manufacturer’s recommended drying times.
By following these steps carefully, you’ll be able to achieve a smooth, professional finish that will make your concrete walls look brand new.
Adding a Protective Sealant for Long-Lasting Results
A protective sealant is the final touch that will help preserve your hard work. Sealing the painted surface will protect it from moisture, stains, and wear, particularly for outdoor walls or high-traffic areas.
Choosing the Right Sealant: Look for a sealant specifically designed for use on painted concrete. Clear, water-based sealants are popular choices because they don’t alter the color of the paint and provide excellent protection against the elements.
Applying the Sealant: Apply the sealant using a clean roller, just as you did with the paint. Be sure to cover the entire surface evenly, including the edges and corners. Allow the sealant to dry according to the manufacturer’s instructions before exposing the wall to water or heavy use.
Maintenance: To maintain the integrity of your painted walls, it’s a good idea to reapply the sealant every few years, particularly for outdoor surfaces that are exposed to the elements. This will keep the paint looking fresh and prevent it from peeling or chipping.
Common Mistakes to Avoid When Repainting Concrete Walls
Even with careful planning, some common mistakes can undermine your efforts. Here are a few pitfalls to watch out for:
- Skipping the Primer: Never skip priming concrete walls. Primer is essential for ensuring that the paint adheres properly and lasts longer.
- Rushing the Drying Process: Patience is key when painting. Allow each coat of primer, paint, and sealant to dry completely before applying the next. Rushing can lead to an uneven finish and peeling.
- Using Inappropriate Paint: Always use paint specifically formulated for concrete. Using regular wall paint can result in poor adhesion and premature wear.
- Neglecting Surface Preparation: Properly cleaning and repairing the concrete surface is critical. Painting over dirt, grease, or damaged areas will compromise the longevity of your paint job.
By avoiding these common mistakes, you’ll ensure that your concrete walls not only look great but also stand up to the test of time.
Final Touches and Maintenance Tips
After all the hard work you’ve put into repainting your concrete walls, it’s important to add some finishing touches and establish a maintenance routine to keep them looking fresh.
1. Removing Protective Materials: Once the paint and sealant are fully dry, carefully remove the painter’s tape and drop cloths. Be gentle to avoid peeling any paint off with the tape. If you notice any areas where the paint has bled under the tape, use a small brush to touch up those spots.
2. Inspecting the Walls: Take a close look at the entire surface to ensure even coverage and check for any areas that might need additional attention. If you spot any imperfections, such as thin spots or minor drips, these can often be corrected with a small brush and a steady hand.
3. Regular Cleaning: To maintain the freshly painted look, clean the walls regularly using a soft brush or a damp cloth. For outdoor walls, consider giving them a light wash with a garden hose or pressure washer set to a low setting every few months to remove dirt and debris.
4. Reapplying Sealant: Depending on the location and exposure to elements, you may need to reapply the protective sealant every couple of years. This is especially important for exterior walls, as the sealant helps protect the paint from weather-related wear and tear.
5. Touch-Up Paint: Keep some extra paint on hand for touch-ups. This is particularly useful if your walls are in a high-traffic area or if they’re exposed to outdoor elements. Touching up any small chips or scratches as they occur will help maintain the overall appearance and extend the life of your paint job.
By following these maintenance tips, your concrete walls will continue to look vibrant and new for years to come. If you ever need professional advice or assistance, Lifetime Painters is an excellent resource for ensuring that your painting project remains flawless.