
Introduction to Cutting In Painting
Cutting in painting is a technique used to create clean, sharp lines between different colors or between walls and trim. It’s a crucial skill for DIY painters aiming for a professional look without the expense of hiring professionals.
Tools You’ll Need for Perfect Cutting In
The right tools make all the difference in cutting in. Essential items include:
- Angled Brushes: A tapered paintbrush with angled bristles for precision.
- Painter’s Tape: For masking off areas you don’t want to paint.
- Paint Kettle: A small container for easier handling of paint while working.
Preparing Your Space for Painting
Preparation is key to a successful paint job. Start by:
- Moving furniture and laying down drop cloths.
- Cleaning the walls to remove dust, grease, and other debris.
- Applying painter’s tape carefully along edges.

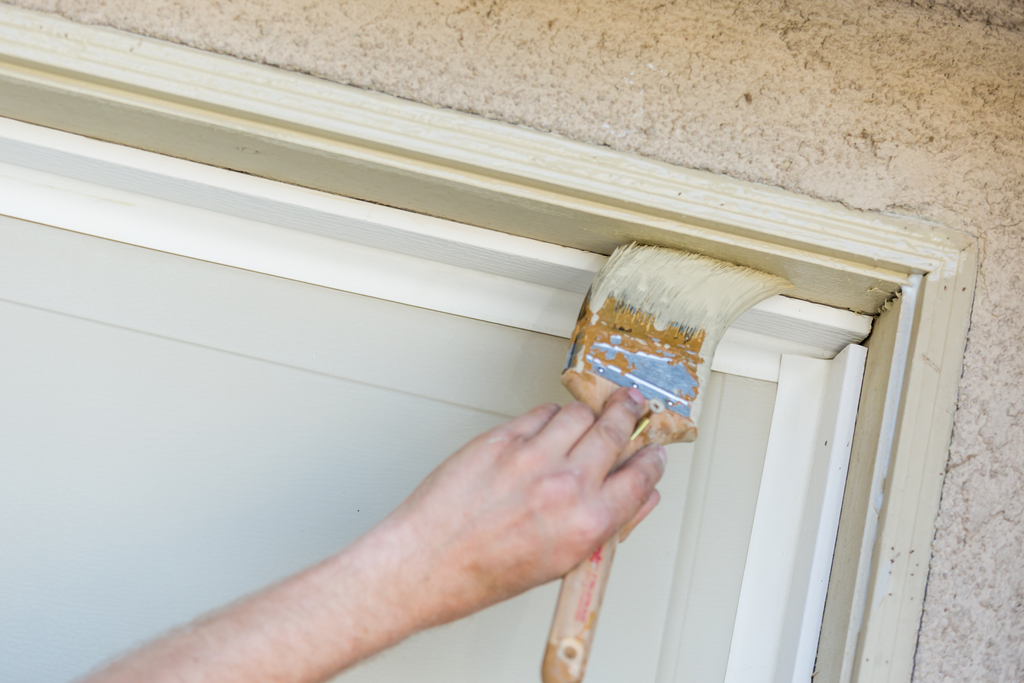
Step-by-Step Guide to Cutting In
- Load the Brush: Dip the brush about a third of the way into the paint, tapping off excess.
- Start at the Edges: Begin a few centimeters away from the edge, then move in steadily, using the narrow edge of the brush for precision.
- Maintain a Steady Hand: Keep your movements smooth and consistent for the best results.
Pro Tips for Sharp, Clean Edges
- Wipe Off Mistakes Immediately: Use a damp rag to clean up any slips as soon as they happen.
- Feather the Edge: Lightly drag the unloaded brush along the edge to blend paint smoothly.
- No Tape? No Problem: With practice, you can cut in without tape, relying on a steady hand and careful brushwork.
Common Cutting In Mistakes and How to Avoid Them
Mistakes happen, but they’re often avoidable. Common issues include:
- Overloading the Brush: This leads to drips and uneven lines. Less is more when loading your brush with paint.
- Rushing the Job: Take your time, especially with tricky edges and corners.
Maintaining Your Tools Post-Painting
Proper care extends the life of your painting tools. Clean brushes thoroughly with soap and water, reshaping bristles before letting them dry. Store them in their original packaging or hang them to prevent bristle damage.
Conclusion: Final Thoughts on Mastering Cutting In
Mortising can seem like a daunting task, but with the right tools and techniques, anyone can achieve sharp, professionally made edges. Practice is the key to success, so don’t be discouraged by your first mistakes. We hope that these tips from Lifetime Painters will help you. Remember, every artist was once a beginner.