When it comes to maintaining your home, patching compound is an essential tool in your DIY toolkit. Whether you’re a seasoned DIYer or a beginner, understanding what a patching compound is, the different types available, and how to use it effectively can make all the difference in achieving a smooth, professional finish on your repair projects.
What Is a Patching Compound?
A patching compound is a versatile material used to fill cracks, holes, and surface imperfections on various substrates such as walls, ceilings, wood, and concrete. It serves as a preparatory step before painting or applying other finishes, ensuring that the surface is smooth and even.
Patching compounds come in different forms, including ready-mixed or powder that needs to be mixed with water. They can be classified into various types depending on the surface they are intended for and the nature of the repair.
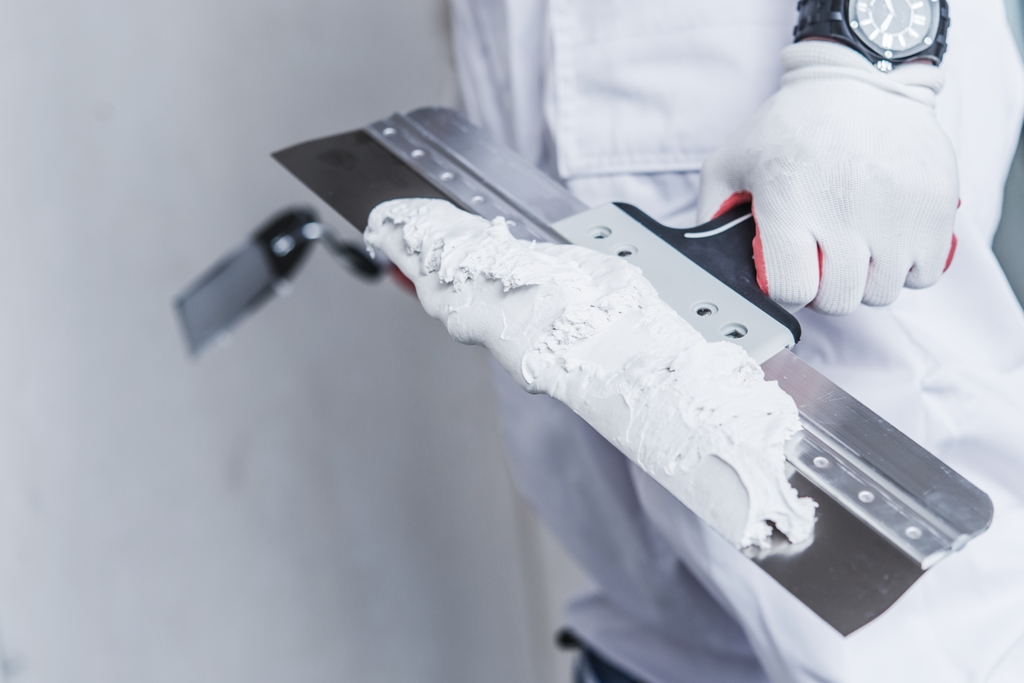
Types of Patching Compounds
- Spackling Compound: Ideal for small cracks, nail holes, and minor surface imperfections. It is easy to apply and dries quickly, making it perfect for quick fixes.
- Joint Compound: This is commonly used for larger repairs, such as filling holes left by screws or anchors. It’s thicker and takes longer to dry but provides a strong bond.
- Vinyl-Based Compound: Known for its flexibility and minimal shrinkage, this type is suitable for both interior and exterior surfaces, offering durability in high-wear areas.
- Plaster Patching Compound: Specifically designed for repairing plaster walls or ceilings, it provides better adhesion on plaster surfaces and is thicker than other compounds.
- Setting-Type Compound: This type sets and hardens through a chemical reaction, making it suitable for larger repairs that need to be completed quickly. It is available in powder form and requires mixing with water.
When and Where to Use Patching Compounds
Patching compounds can be used on a variety of surfaces and for different repair needs:
- Walls and Ceilings: Filling in cracks, nail holes, and other imperfections before painting.
- Wood: Repairing scratches, nicks, and small holes on wood surfaces.
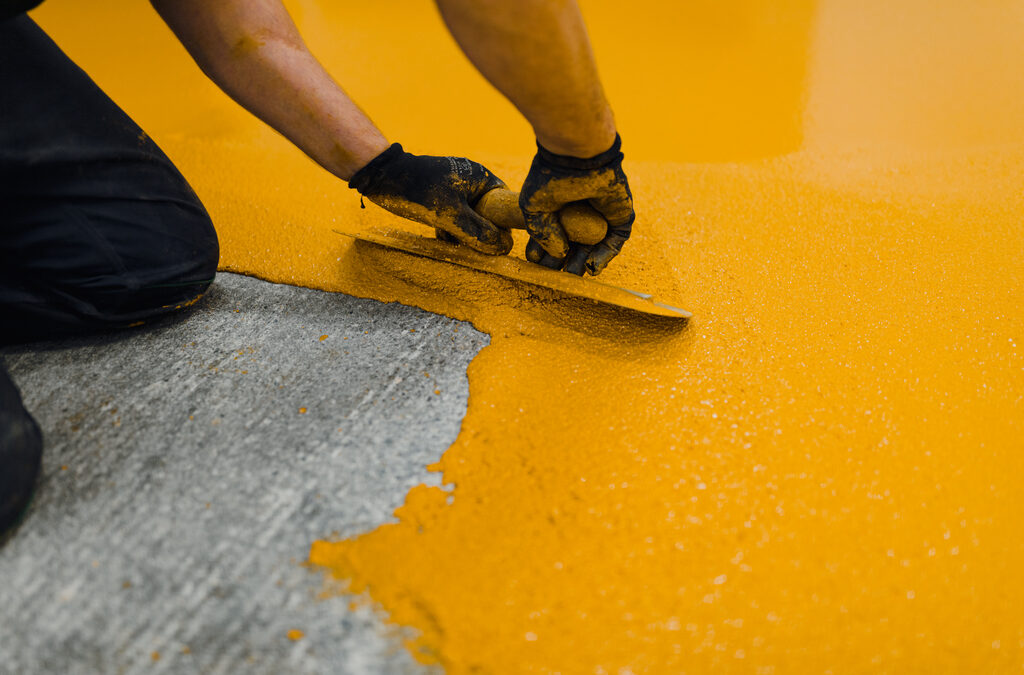
- Concrete: Filling larger cracks or holes in concrete surfaces, though specialized compounds are recommended for this purpose.
For professional assistance with your home repairs, including selecting the right patching compound and applying it correctly, consider reaching out to experts like Lifetime Painters. They can ensure that your home’s surfaces are restored to their best condition.

How to Apply Patching Compound: Step-by-Step Guide
- Preparation: Clean the damaged area by removing any loose debris, dirt, or dust. Ensure the surface is dry and free of grease or oil.
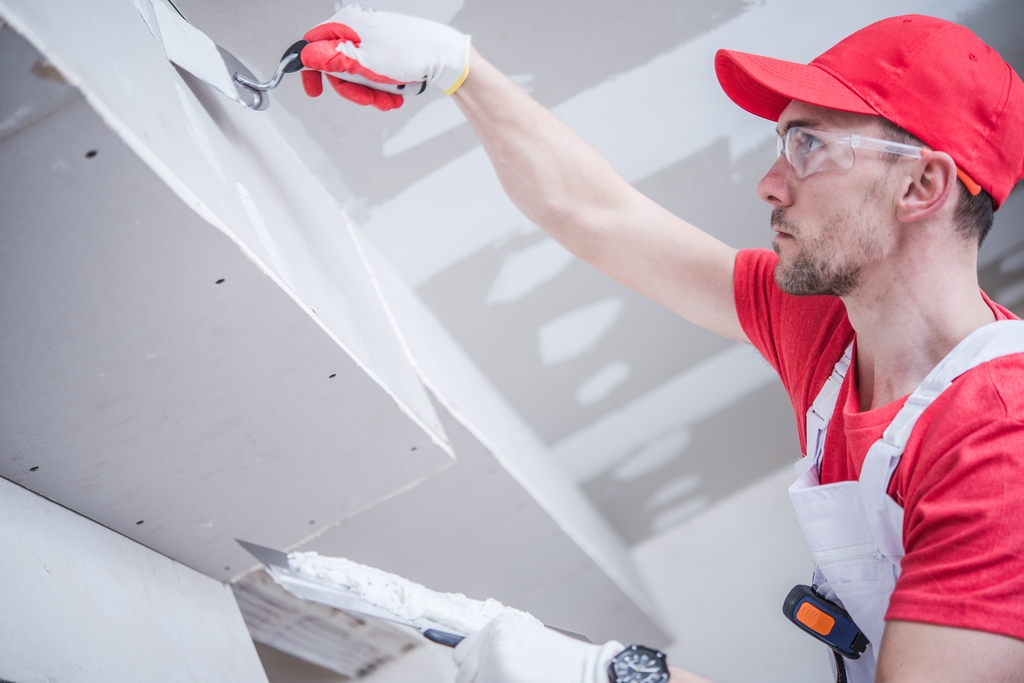
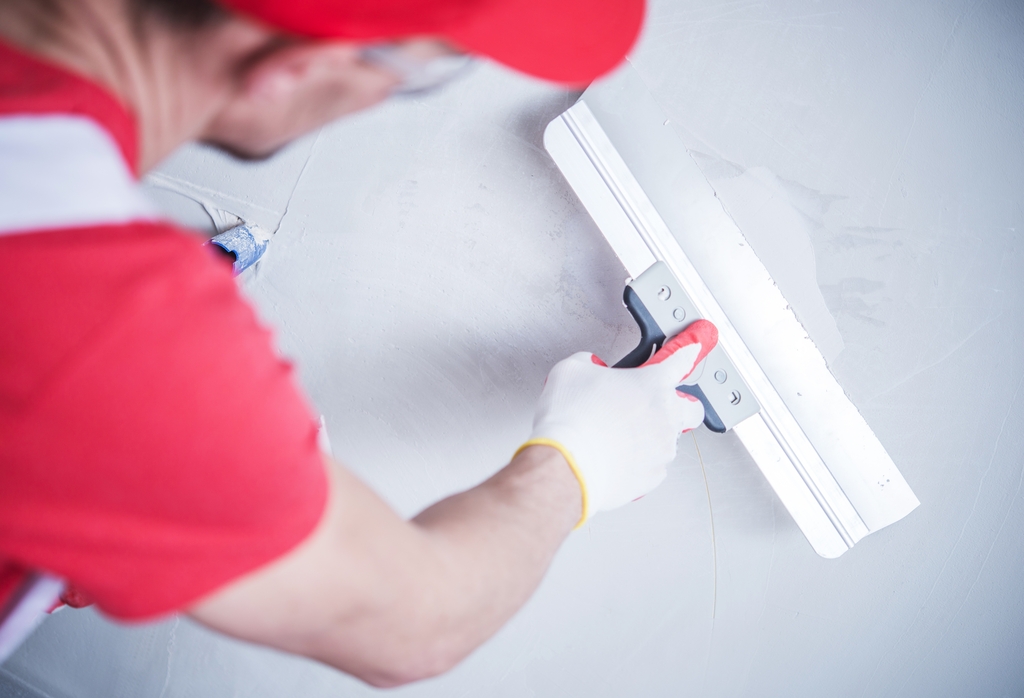
- Application: Use a putty knife or trowel to apply the patching compound. For deeper holes, apply the compound in layers, allowing each layer to dry before adding the next.
- Sanding: Once the compound is fully dry, sand the area to create a smooth surface that blends with the surrounding material. Use fine-grit sandpaper for the best results.
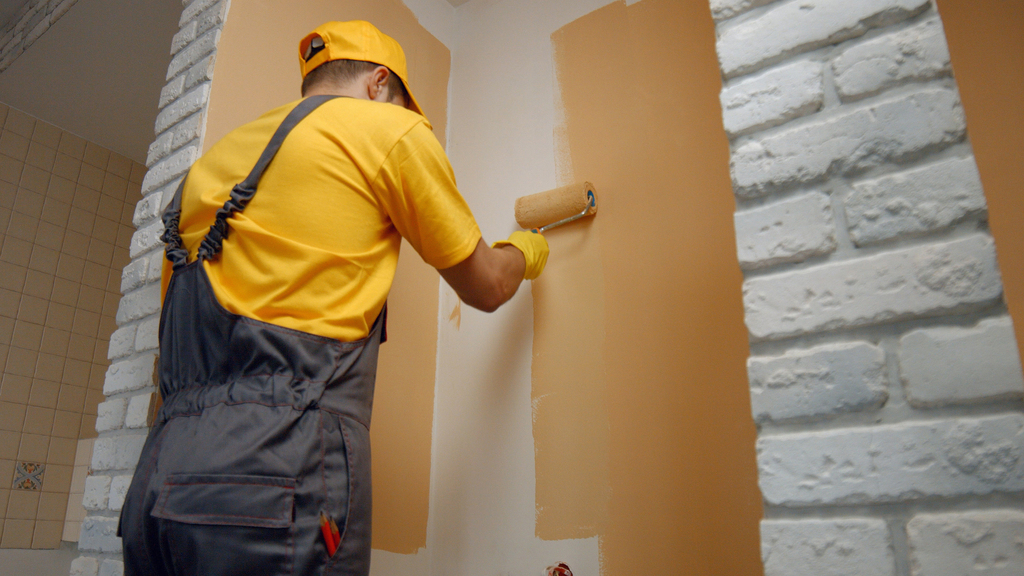
- Painting: After sanding, prime the area if necessary, then apply paint to match the rest of the surface.
Common Mistakes to Avoid When Using Patching Compounds
- Overfilling: Applying too much compound can lead to excess sanding and uneven surfaces. Apply the compound gradually and build up if needed.
- Skipping Sanding: Failing to sand the patched area can result in a noticeable difference between the patched and original surfaces.
- Ignoring Drying Times: Always follow the manufacturer’s instructions for drying times to avoid issues with adhesion and finish.
Tips for Achieving Professional-Quality Repairs
- Use the Right Tool: A putty knife is best for small repairs, while a trowel is ideal for larger areas.
- Prime Before Painting: Priming ensures better adhesion of the paint and a uniform finish.
- Work in Layers: For deep holes or cracks, apply the compound in thin layers, allowing each to dry before adding the next.
By understanding and correctly applying a patching compound, you can ensure that your home’s surfaces are smooth, aesthetically pleasing, and ready for painting or other finishes. For those who prefer to leave it to the pros, services like Lifetime Painters offer expert repair and painting solutions to help maintain your home’s appearance and integrity.
Conclusion: Mastering Patching Compounds for Home Repairs
Patching compound is an essential material for any homeowner or DIY enthusiast. Whether you are fixing small nail holes or repairing larger cracks in walls or ceilings, knowing how to select and apply the right compound is key to achieving a smooth and professional finish. By following the steps outlined above and avoiding common mistakes, you can tackle repairs with confidence. And remember, for the most challenging tasks, professional services are always an option to ensure the best results.

