
Preparing your drywall for painting is not just about slapping on a coat of paint; it’s about creating a smooth canvas that will make your walls look their best. The secret to a flawless finish lies in one critical step: selecting the right sandpaper grit. This guide will demystify sandpaper grit numbers, introduce you to the necessary tools, and walk you through the process of sanding your drywall like a pro. Along the way, we’ll share expert tips and highlight common pitfalls to ensure your walls are perfectly prepped for painting.
Understanding Sandpaper Grit
The term “grit” refers to the size of the abrasive particles embedded in the sandpaper. These particles do the heavy lifting of removing material from surfaces. Sandpaper grit is numbered, and the rule of thumb is simple: the lower the number, the coarser the sandpaper, and vice versa. For drywall, you’ll want to lean towards 120 to 150 grit. This range is coarse enough to smooth out imperfections but fine enough to avoid damaging the drywall’s delicate surface. Understanding this balance is crucial for effective drywall prep.
Tools and Materials Needed for Drywall Prep
Equipping yourself with the right tools is the first step toward achieving that perfect paint-ready surface. You will need:
- Sandpaper or a sanding sponge, ideally in 120 to 150 grit.
- A sanding block for hard-to-reach corners and edges.
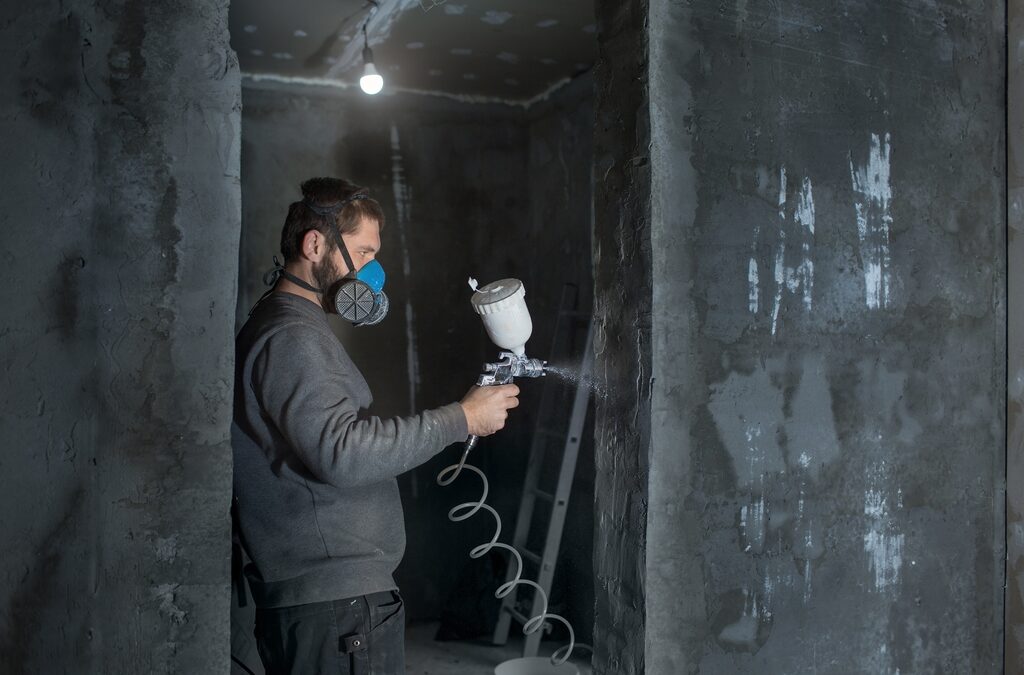
- Dust mask and safety glasses to protect yourself from fine dust particles.
- A damp cloth or sponge for dust removal post-sanding.
Each tool plays a pivotal role in the prep process, from smoothing surfaces to ensuring your health and safety are not compromised.
Step-by-Step Guide to Sanding Drywall
- Safety First: Don your dust mask and safety glasses. Drywall dust is fine and can irritate your lungs and eyes.
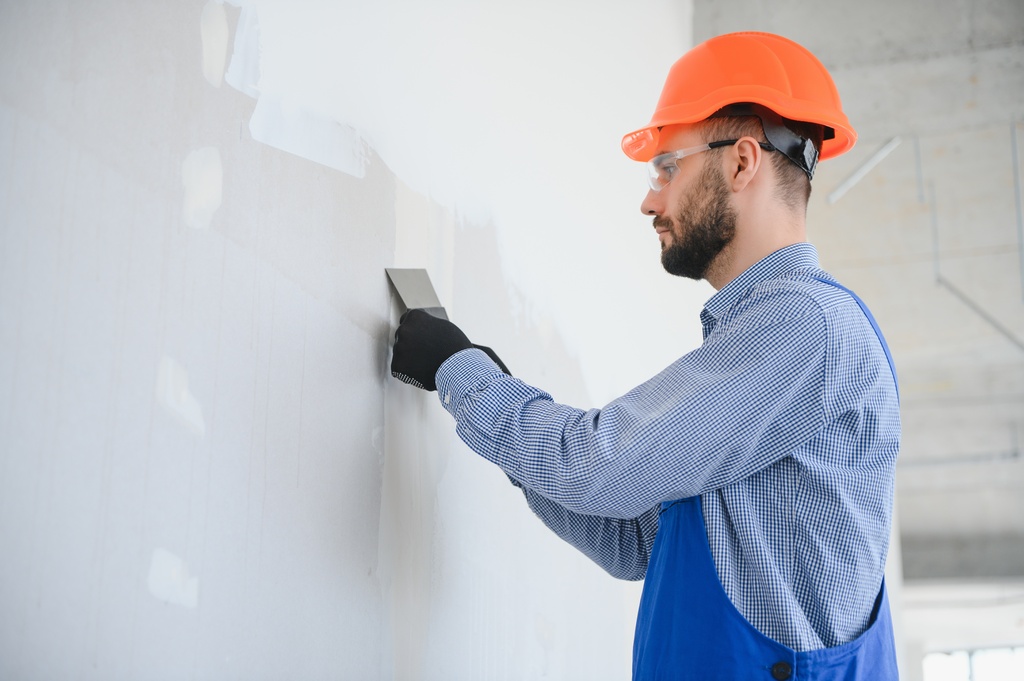
- Initial Inspection: Look for any obvious imperfections, such as nail holes or dents, and fill them with joint compound. Allow to dry as per the manufacturer’s instructions.
- Start Sanding: Using your 120 or 150-grit sandpaper, begin sanding the drywall in a circular motion. Avoid applying too much pressure to prevent gouging the surface.
- Corner and Edge Work: Switch to your sanding block for precision work along edges and corners, ensuring an even smoothness throughout.
- Clean Up: Wipe down the walls with a damp cloth to remove dust, checking the surface as you go for any missed spots or imperfections.
Tips for a Smooth Finish
- Lighting: Proper lighting is crucial. It can highlight imperfections that natural light might not reveal.
- Dust Control: Consider attaching a vacuum to your sanding tool to minimize dust or using a damp sanding sponge.
- Even Pressure: Apply consistent pressure when sanding to avoid uneven surfaces.
Common Mistakes to Avoid
- Oversanding: This can wear down the drywall’s paper face, leading to more problems.
- Skipping Grits: Jumping directly to a fine grit without starting with a coarser one can leave imperfections.
- Ignoring Safety Gear: Drywall dust is harmful. Always use a dust mask and safety glasses.
Next Steps After Sanding
After sanding, you’re not quite done yet. Applying a primer is your next step. It ensures that your paint adheres well and lasts longer, providing a uniform finish. Once the primer is dry, inspect the wall once more for any imperfections before finally applying your paint.
Conclusion
Choosing the right grit sandpaper and carefully preparing drywall for painting may seem like daunting tasks, but they’re doable – LifeTime Painter. With this guide, you’ll be able to tackle your drywall project with confidence, ensuring a smooth, professional finish that will transform your space. Remember, the key to a perfect paint job lies in the preparation.